The Misadventures of My Drafting Table Project
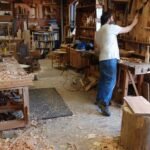
So, there I was, sitting in my little workshop, sipping on a hot cup of coffee, the morning sun just barely peeking through the dusty window. My mind drifted back to that time I decided to take on the daunting task of building a drafting table. You know, the kind that artists and designers have, complete with that smooth surface and adjustable angle? Yeah, that sounded great in theory.
Where It All Began
It started with a simple idea, sparked by a neighbor who’s a graphic designer. He mentioned needing a new drafting table because his old one just wasn’t cutting it anymore. I thought, “Hey, I could whip one of those up!” After all, I had my trusty power tools and a few scrappy woodworking plans I’d saved from a random internet search. I found a PDF with a design I thought looked straightforward enough. Guess what? I was wrong.
I picked some oak plywood from my local lumber yard, the kind that smells divine when you get a whiff of those fresh-cut edges. It had that slightly sweet scent, mixed with a hint of earthiness. I could almost feel the creativity dripping from it, you know? Well, I thought this oak would be solid; it would really last. I mean, who wouldn’t want an oak drafting table?
The First Slice
I set up my table saw, and let me tell you, there’s nothing quite like the sound of that saw whirring to life. It’s like a promise of what’s to come. But, oof, my first cut was a disaster. I was so pumped that I rushed it. One wrong move, and I ended up with a rather… wonky board. The thought of wasting good wood almost made me want to tear my hair out.
Still, I didn’t give up. I took a breath, and after a few “well, that didn’t go as planned” moments, I managed to cut out what I needed. I mean, mistakes are part of the game, right? You take a step back, breathe in that woodsy aroma, and remind yourself that it’s all part of the joy of making something with your own hands.
Making It Fit
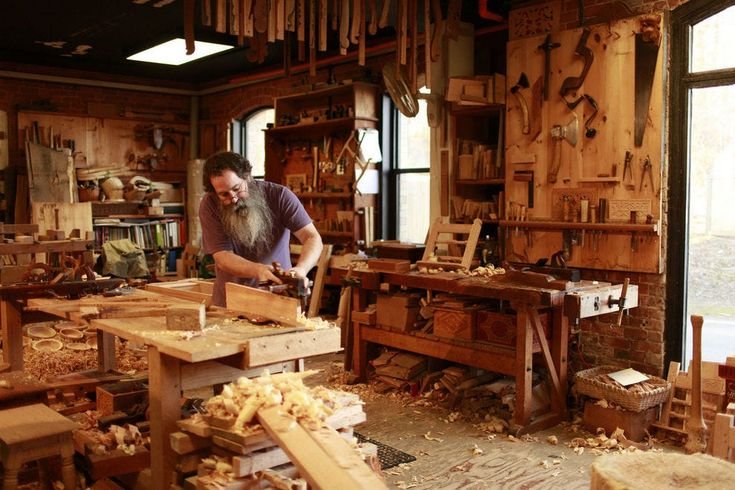
Next up was the assembly. I had a vision, you see. I wanted this table to have an adjustable angle. I had the mechanisms figured out, thanks to a YouTube video I stumbled across late one night. Let me tell you, I felt like a complete genius watching that guy effortlessly attach everything. But when I tried it? Oh man, things went sideways pretty fast. The hinges I bought were from some brand I’d never heard of, and they just didn’t work right with the plywood.
After more than a few exasperated sighs, I ended up visiting the local hardware store—it’s that charming little place run by folks who seem to know more about tools than all the DIY blogs combined. One of the old-timers looked at my hinges and just shook his head. “You won’t find a good fit with that, son.” Ah, great, here we go again.
So I ended up picking up some rock-solid brass hinges, which are way pricier but, you know, sometimes you just gotta pony up for good quality. When I installed those, it was like wrestling a bear—that shiny brass was beautiful, but getting everything positioned just right had me sweating buckets.
Almost Threw in the Towel
There was a moment, oh, I could almost feel the weight of it, where I thought about giving up. The table frame was just rocky enough to make everything feel chaotic, and I was staring down the barrel of what felt like eternal frustration. I mean, there I was, a coffee cup beside me, all hopes pinned on this drafting table. “What if I mess it up again?” ran through my mind more times than I’d like to admit.
But then, like magic, things started coming together. I took a small step back, tilted my head to the side with a big ol’ grin, and realized that, hey, this thing might actually work. And when I finally managed to get the surface locked in place? I almost couldn’t believe it. I was doing a happy dance right there in the workshop, coffee sloshing everywhere.
Final Touches
The fun part was adding the finishing touches. I picked up some shellac to give it that deep, rich glow. I can’t even describe the smell—the way that wood-soaked finish seeped in, mingling with the aroma of fresh coffee and sawdust, was just heavenly. After a couple of coats, it looked like a million bucks. All those late nights and sore muscles were finally worth it.
A Bit of Wisdom
You know, looking back on that whole experience, I realize now that woodworking isn’t just about the final product. It’s about the journey—the stumbles, the laughter, the mess-ups—and even those moments when you want to throw your tools out the window. Every ding in the wood? A memory. Every line and groove tells a story.
So, if you’re sitting there, holding a cup of coffee and contemplating diving into a woodworking project, just do it. It might feel scary or overwhelming, but I promise you’ll learn something about yourself along the way. Embrace every mistake, because they’re just stepping stones to something beautiful. If I can do it, so can you. Just give it a shot!