The Keyhole Jig Adventure
Well, grab a seat and pour yourself a cup of whatever you’re drinking—let me tell you about my latest woodworking adventure. You know how it goes; one project leads to another, and before you know it, you’re knee-deep in sawdust, wondering why you didn’t just stick to simple picture frames.
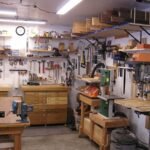
So, there I was, sitting in my garage one rainy Saturday, staring at a pile of scrap wood. The smell of damp sawdust mixed with that earthy scent of pine filled the air. I had this itch to build a nice little bookshelf for my daughter’s room. She’s been picking out all these fancy books, and I figured a handcrafted shelf would be a nice touch. Simple enough, right?
The Dream of a Keyhole Shelf
I had seen a picture online of a bookshelf with these elegant, hidden keyhole slots. It looked so clean and finished, and I thought, “How hard can it be?” Famous last words, huh? The truth is, I’d never used a keyhole jig before. I mean, I had seen a few YouTube videos, but let’s be honest: they make it all look so easy.
I ran over to the local hardware store—shoutout to Thompson’s Hardware, the best little spot in town. Of course, the smell of aged wood and fresh paint almost pulled me in for an hour, but I stuck to the mission. I picked up a keyhole jig from a brand I’ve never heard of. “Looks sturdy enough,” I thought, making my way back home.
The Setup
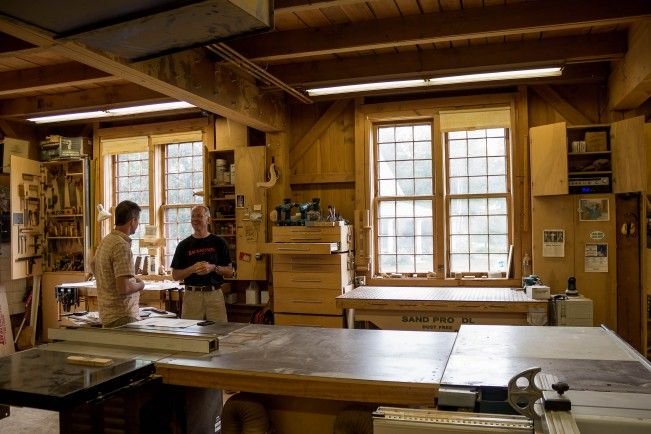
Back in the garage, I laid everything out. The light from the old fluorescent bulbs flickered just right, creating an ambiance like I was in some DIY workshop scene in a movie. I grabbed my trusty Ryobi drill and started marking my wood, ready to get this show on the road.
Let me tell you, that jig looked a bit intimidating at first. It had more adjustments than my car, and if I’m being honest, I’m usually not one for all those bells and whistles in the workshop. I tightened everything down and lined it up, heart pounding like a kid riding their first bike.
And Here Come the Mistakes
Oh man, where do I even start? I pressed down on the jig and started drilling, the bit screaming into the wood like it was trying to join a rock band. But then, “THUNK!” The jig shifted, and I ended up with this horrendous slot that looked more like a racetrack than a keyhole. I almost threw my hands up and walked away.
I sat there with my head in my hands, surrounded by the scent of burnt wood, feeling defeated. I don’t know how long I sat there, but the reality of failure started to creep in. But I paused, took a sip of my cold coffee—yep, cold—and then laughed at the situation, like “Well, this is just great.”
Trying Again
After an hour of trial and error, I finally figured out how to get it properly seated. My daughter peeked in, curious about the mess I was creating. “Dad, why’s it all crooked?” she asked with those big eyes. Kids have a knack for pointing out when we’re being foolish, don’t they? At that moment, I realized I needed to be patient and deliberate; this wasn’t just about getting it done, but getting it done right.
The jig finally started working, and I managed to drill the keyholes without any more mishaps. I remember the sound of the drill changing from that anxious whine to a satisfying hum as it cut through the wood like butter. I was back in the zone!
Finishing Touches
Once I got the keyhole slots figured out, I moved on to the finish. I used some Varathane wood stain in a warm walnut color—a personal favorite. The smell of the stain, rich and nostalgic, wrapped around me as I painted it on. I’ve always found comfort in that smell; it reminds me of the times I used to help my dad in his shop.
The final moment came when I hung that shelf up on the wall. After all that sweat and doubt, I stepped back to admire my creation. To see it finally up there, holding my daughter’s books—it felt like I’d won an award or something. I mean, dang! It actually worked!
The Takeaway
So, if you’re thinking about trying something like this, don’t let the fear of failure stop you. It’s true what they say: you learn the most from your mistakes. I almost gave up so many times, but in the end, it all came together in a way that felt like magic.
Remember, folks, woodworking is as much about the journey as it is the destination. And while I’ve ended up with a bookshelf that’s full of wisdom (and maybe a bit of sawdust), the real lesson is about sticking with it—even when it feels like you’re stumbling in the dark. And who knows? You might create something beautiful out of your mess. So go on and tackle that project you’ve been thinking about!