Finding My Way in SolidWorks Woodworking Weldments
So, there I was, sitting in my garage one summer evening, the kind that feels just right with the sun dipping low and the day’s heat finally giving way to a cool breeze. I had my trusty cup of black coffee sweating in my hand — you know, the kind that smells like roasted heaven and fuels the creative engine. I was staring down a project that had been nagging at me for weeks: a new woodshop workbench. Not just any workbench, mind you, but one built with welding in mind. My mind was racing with ideas and… well, a bit of anxiety, too.
The Gritty Beginnings
Now, I’ve been tinkering and building things since I can remember. My dad always had a woodshop, and I can still recall the smell of freshly cut pine wafting through the open windows on warm days, mingling with the sharp tang of metal from his old welder. So, I kind of figured I had a handle on this woodworking and welding combo. But let me tell you, jumping into SolidWorks for the first time? That was a steep hill to climb.
You see, I was determined to use SolidWorks to design my workbench. I figured, “How hard can it be?” Fast forward to me staring blankly at my computer screen, feeling like I was trying to decipher Martian instead of just laying out a table. The interface was daunting, like looking at a foreign language, and I admit I almost tossed in the towel thinking I’d be better off sketching it out on a napkin at the diner.
Stumbling Through the Weldments
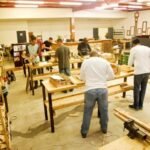
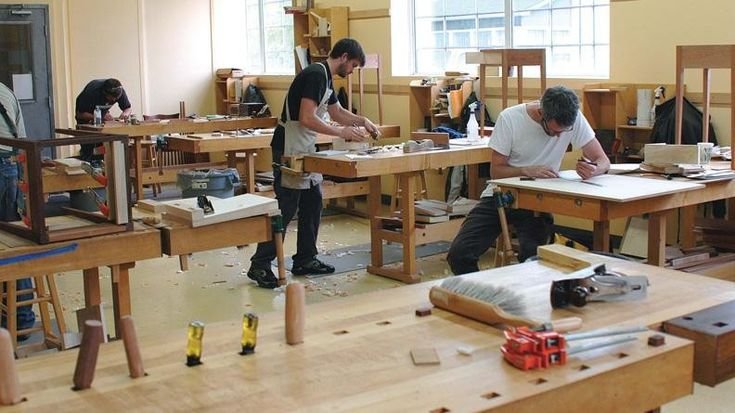
So, there I was, wrestling with creating weldments in SolidWorks. I remember my buddy Tim telling me how simple it was — "Just drag and drop the profiles, buddy!" Sure, Tim, like that’s all there is to it. I got through the basic frame, using good ol’ 2x4s from Home Depot, the smell of fresh lumber filling my garage, but when it came to actually joining pieces together, well, let’s just say my confidence took a nosedive.
I ended up with pieces that wouldn’t fit, joints that looked like they belonged in a different universe, and more than once I found myself laughing awkwardly at my own stubbornness. “I can do this,” I thought, even as I had to redo the same section three times. You know that feeling when you realize you’re trying way too hard to be an expert in something that takes years to master? That was me, looking at my crazy design, feeling like I was lost in the maze of SolidWorks.
The Beautiful Mess of Learning
But here’s the kicker. Finally, after what seemed like an eternity of frustration, I tried something different. You know, step back and take a breather kinda different. I ended up watching some YouTube videos — yeah, sorry Tim, I had to check it out — which were surprisingly helpful. Who knew there were folks out there just talking about their experiences in real life?
I picked up some valuable tips there, and also realized I was mostly making mistakes with how I defined my welds. There’s a way to do it that makes everything feel seamless (pun intended). Those little lessons turned my errors into DIY gold. When I actually got it right, being able to see the frame take shape on-screen finally felt rewarding and, dare I say, like I was reclaiming my sanity.
After finally landing on the design for my workbench, something magical happened. It felt like a weight lifted when I finally got to the moment where I pulled that first piece of wood out of the pile and thought, “This is really happening.” I welded it together with my ancient Lincoln welder — which, bless it, is as reliable as old Betsy in a charming way. The sparks flew, and the smell of burning metal filled the air, mixed with sawdust. It felt like everything in that moment was perfectly aligned — well, until I accidentally dropped a heavy bolt on my foot and yelped like a kid who just got their ice cream snatched away.
Moments of Truth
And the funny part? When I finally stepped back and looked at my workbench — the frame was together, strong, sturdy — I couldn’t help but burst out laughing. I expected it to look a bit rough around the edges, but there it stood, almost like it was saying, “Yeah, you’ve earned this.”
But let’s be real. The first couple of times I used that workbench, I noticed some things needed tweaking. Like, the height felt a bit off, and there was that wobbly leg that needed some extra support. But that’s the thing with creating. It’s like life. You can feel like you’re finally on solid ground, and then a little wobble reminds you to stay aware and keep improving. Each little fix became a personal lesson in patience and adaptability.
So, if you’re thinking about jumping into SolidWorks woodworking weldments — maybe you have dreams of crafting your own projects or designs — just go for it. Dive in. Though I stumbled and nearly gave up a few times, each misstep was part of the journey. If I hadn’t, I wouldn’t have the satisfaction of standing beside that workbench, coffee in hand, with a sense of pride for making something that had only existed in my head.
Who knows? You just might create something beautiful — not just out of wood and metal, but out of your own willingness to learn. Trust me, in the end, it’s all worth it.