Corner Splines: A Woodworker’s Tale
You know, there’s something about woodworking that always draws me in. Maybe it’s the smell of the wood shavings swirling around my feet like a cozy carpet, or that satisfying click of the saw cutting through a nice piece of oak. The whole experience does something to the soul, doesn’t it? But, good grief, I’ve had my fair share of missteps too.
Let me take you back, to a particularly stubborn project I took on a year or so ago. It was one of those evenings when the sun was just dipping behind the pine trees out back, and the golden light made everything look extra magical. I had decided to craft a coffee table—something rustic, with these beautiful corner splines that I thought would give it a real touch of class.
Well, let me tell you, as proud as I was when the idea first hit me, it quickly turned into a bit of a mess.
The Spark of an Idea
So, I’m rummaging through my wood stash, all of it sitting tight in the garage, smelling delightfully earthy. I eventually settled on some nice, dark walnut I had salvaged from an old job site. That wood has character, I tell you. A bit of a history—and it even had a couple of knots that made it all the more interesting. Anyway, I could already see the table in my head: sturdy, beautiful, and every bit a family heirloom in the making.
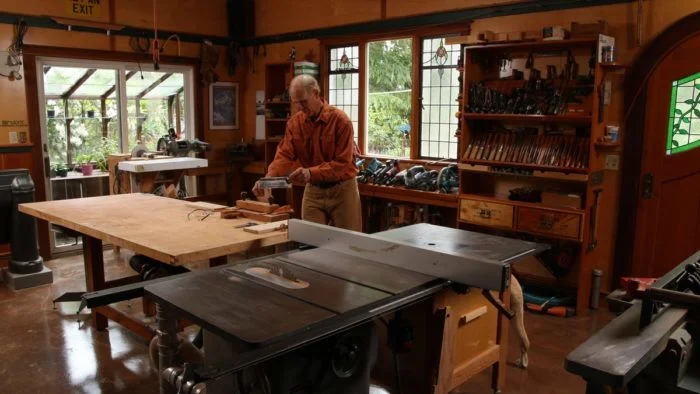
After some sketching—I use graph paper and a faded pencil, by the way—I got to work. I was using my trusty table saw, a sturdy old Craftsman I’ve had since the kids were little and still fit snug in my garage. But here’s where it all started to go sideways.
That Damn Table Saw
I realized, a few cuts in, that I hadn’t made allowances for the thickness of the splines. You know the ones I mean. They’re supposed to add some strength and style to those corners, but I was so focused on the aesthetic that I overlooked the practicalities. When I went to cut those spline grooves, it was like wrestling a beehive. The saw tore through the wood, and just as I thought I was on the right track, I heard that dreaded sound—the “thunk” of the blade snagging against the edge.
I almost ripped the whole thing apart in frustration. I sat there for a good five minutes, staring at what was supposed to be my masterpiece, feeling like a first-time painter who just spilled paint everywhere for the hundredth time.
But then I remembered something my old buddy Jim always said: “When it looks like a mess, you just haven’t finished it yet.” So, I tried to calm down and recalibrated my approach.
Back to Square One, Almost
Instead of cutting my losses and tossing the walnut aside, I connected the dots and decided to work backward a bit. I thought, what if I cut the splines first, then created the grooves to fit them?
I grabbed some scrap ply, and with my miter saw—bless that gadget—I started cutting the splines at a 45-degree angle. I was a little unsure all over again, feeling like I was swimming through murky waters. But when I laid those splines in place, everything came together. I could practically hear the wood breathe a sigh of relief.
The trick was to use a bit of Titebond III glue—my go-to for almost everything—and it stuck like a charm. That smell? Oh man, if there’s anything better than the wood itself, it’s the scent of fresh glue saturating the air as you clamp everything down.
What Makes Us All Real
In that moment, I chuckled a little. I mean, I had this vision in my head of a flawless project and ended up tangoing with a table saw like I was auditioning for a horror movie.
I kept at it, finishing up the corners and prepping for the final assembly. And let me tell you, when I finally placed that table in my living room, right in front of the big bay window, it was worth all those moments of doubt. Seeing the light hit the grain and the splines resting snugly in the corners, I let out this little laugh. A full-circle kind of satisfaction.
Takeaway from the Workshop
As I sip on my morning coffee these days, I often think back to that walnut coffee table. It’s become part of our family’s story, and every time we gather around it—whether it’s for a card game with friends or a quiet evening dinner—I’m reminded that mistakes are just stepping stones.
If you’re thinking of diving into woodworking or tackling a project that makes your heart race a little, just go for it. Don’t let the fear of screwing up hold you back. You might find yourself wrestling with your tools, but those struggles often turn into something unexpectedly beautiful. Just remember Jim’s words: it isn’t finished yet.
So grab that saw, cut that wood, and get your hands a little dirty. Who knows? You might just surprise yourself.