A Coffee and a Tale: My Dance with Shaft Guides in Woodworking
Y’know, there’s something about starting a new project that just lights a fire in your belly. Just last week, I found myself in my garage with the smell of fresh pine hovering in the air, the kind that sticks to your nose and just stays there, reminding you of the task at hand. It was a Wednesday, and I had this grand vision for a new bookshelf. Simple enough, right? I mean, I’ve built furniture before — a couple of end tables, a real swanky coffee table that I was proud of until my buddy spilled a beer all over it. But this bookshelf was going to be the pièce de résistance, the one that made my neighbors peek over the fence with jealous eyes.
So, there I was, sipping my black coffee—strong enough to wake the neighbors, mind you—when I remembered a tip I’d seen somewhere about using industrial shaft guides to keep everything running smooth. Yeah, it sounded a bit complex for a self-taught woodworking enthusiast like me, but there I was, willing to dive in headfirst.
The Overzealous Setup
My first mistake? Honestly, thinking I could just waltz into the project without fully understanding what I was getting into. I mean, it’s just a guide, right? But let me tell you, it quickly turned into a saga. I picked up these stainless steel shaft guides at the local hardware store. Honestly, as soon as I laid eyes on them, I felt like some kind of mad scientist ready to create a masterpiece. They had that shiny sheen, and I just knew they would give my bookshelf that professional flair.
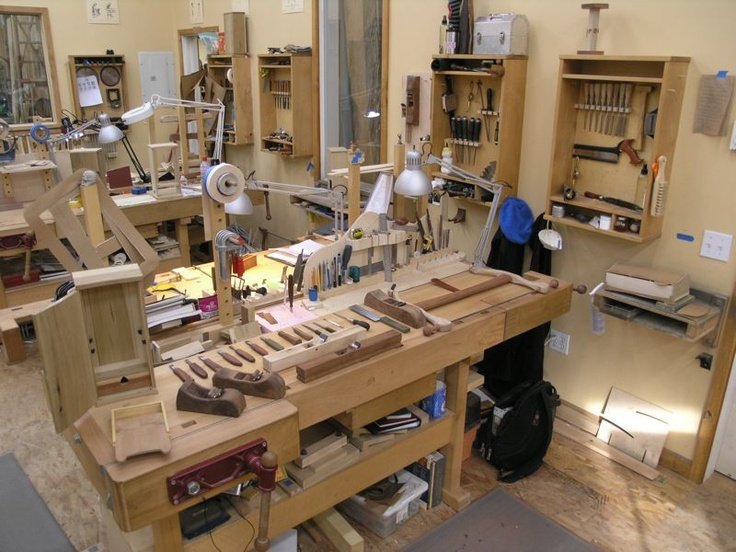
As I laid out my tools—a miter saw, a drill, and my trusty old belt sander—I could almost hear the sound of success echoing in my garage. But then comes the part where you think you’ve got it all under control, and the universe laughs in your face.
Things Took a Turn
Once I started drilling the holes for those guides, that’s when the trouble began. I mean, I thought I could just eyeball it, save myself time, but no. The first hole? Off-center by a good whole inch. I actually said, “What the heck?” out loud, and my dog looked at me like I was losing it. I knew I should’ve measured. It seems like you can never skip that step, no matter how many times you tell yourself you can.
I almost threw the wood across the garage in frustration. Like, why don’t I ever learn? I remember standing there, staring at the botched hole, feeling the heat of defeat creeping in. It was like all those failures flashed before my eyes: that table with the wobbly leg and the chair that, let’s be real, nobody wanted to sit in.
Finding the Rhythm
Eventually, after a few deep breaths and a strong reminder that this was just wood and nothing was actually on fire — I decided to reset my approach. I grabbed my trusty tape measure and took my time, measuring twice (okay, maybe three times, but hey, who’s counting?). The satisfaction of drilling those holes in just the right spots? Pure magic.
And when the moment finally came to attach those shaft guides? Oh man, I was downright giddy. They slid right into place, smooth as butter, almost like they were just waiting for my proud little bookshelf to arrive. I remember letting out a laugh when I realized I had made it work. It felt like high fives all around; even my dog seemed to wag his tail in approval.
The Finishing Touches
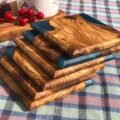
Now, let’s talk wood types for a second. I decided to use a mix of pine and oak. The pine was nice and light, while the oak added that sturdy anchor feel — the kind of wood that makes you think twice about ever moving the piece again. Oh, and the sound of the saw cutting through that oak? Sweet music to my ears. There’s just something about that satisfying crunch of a good blade against quality wood that lifts your spirits.
Putting on the final coat of stain was a whole vibe. The rich, earthy smell of the finish filled the garage, and I felt like I was in a little oasis of creation. It’s funny how you can start off feeling like a total novice but end up immersed in something that feels deeply rewarding.
Lessons Learned
Looking back, I laugh at how stressed I got over those little mistakes; they really aren’t the end of the world. The shaft guides? They turned out to be the secret weapon I needed to make everything run smoothly and balance out that bookshelf nicely. You’d think I’d know by now to embrace the mess of it all, the start-and-stop tempo of woodworking.
As I finished drilling the last screw and stepped back to look at my handiwork, there was that moment of clarity where I realized all the hiccups were what made this project fun and meaningful. If I’d let frustration take over, I would’ve missed out on the joy of creation.
Final Thoughts
So, if you’re dabbling in woodworking or thinking of whipping out that rusty saw and some wood you’ve been saving—just go for it! Embrace the mistakes, the miscalculations, and those moments that make you question your sanity. Don’t let a few oversized holes or wobbly cuts scare you off. You just might surprise yourself in the end.
After all, it’s about the journey, the smells of sawdust, the quiet moments of meditation with your coffee, and the final product that carries a bit of your spirit. Happy woodworking, my friend!