A Nightstand Adventure: Woodshop Realities
You know, there’s something about the smell of fresh-cut wood that just gets me, especially on a crisp fall morning here in small-town USA. I had my coffee steaming right next to me; that rich aroma mingling with the scent of cedar was pure heaven. It was one of those rare weekends with no plans. So, naturally, I decided to dive into one of my little woodworking projects — a nightstand. Sounds simple, right? Ha.
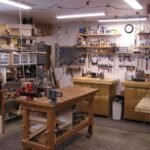
So there I was, sitting in my cluttered garage, surrounded by the relics of other half-finished projects. I had my trusty table saw, a Bosch. That thing has seen better days, but it cuts straight enough for my needs. I decided I’d go with pine for this nightstand. It’s cheap, easily available, and I like the way it smells when you sand it down. I honestly couldn’t have picked a better wood for a beginner like me.
Now, looking back, I should’ve started off with a plan. I sketched something out on the back of an old receipt, just a quick idea of what I had in mind — a simple cube-like structure with one drawer. Easy peasy, or so I thought.
The Sketch That Gave Me Hope (and Headaches)
Oh, where do I start with that sketch? It was a masterpiece in my mind, but once I began measuring and cutting, all I could see were mistakes. I may or may not have miscalculated the drawer dimensions by about two inches. Trust me when I say that cutting into wood is way easier than trying to fix a mistake like that. I fought the urge to toss the whole project when I realized I was staring down a pile of not-so-useful lumber.
But instead of giving up right then and there, I laughed it off. It’s just wood, right? So much of the joy of woodworking is learning from those little blunders. I grabbed another piece of pine, still smelling sweet, and gave it another shot.
The Rebuild and Recap
This time, I decided to make the drawer a bit smaller and focused on the basic construction — a top, bottom, two sides, and a back. Simple enough. Still, let me tell you, attaching those sides was tricky. I had a pocket hole jig that I picked up from my favorite local hardware store, but I’m telling you, that thing requires a kind of finesse I didn’t have that day. At one point, I swear I had more screws on the garage floor than I did in the wood.
Muffled from all the drilling, I could hear my neighbor’s dog barking, maybe thinking I was torturing the wood. I’ll admit, I did get a little frustrated, almost packed it in for the day. But then I reminded myself — hey, this is supposed to be fun! So, I cranked up my favorite country playlist, and things started to move along better.
As I pieced it all together, I could feel the rhythm happening. The sound of the saw cutting through wood was oddly soothing. Each time I drove a screw into place, it was like a little victory dance in my head.
The Surprising Joy of Finishing Touches
When it came time for the finishing touches, I took a deep breath. I had picked a dark walnut stain that I was so excited about. Honestly, staining is where the magic happens, right? You spend hours sweating over cuts and joins, and then — bam! — that beautiful dark finish transforms the whole thing.
Well, or so I thought. I slapped on the first coat, and to my horror, it came out blotchy. Like, I paused mid-stroke, holding my breath, staring at the uneven color. I almost gave up again. But I had to remind myself: perfection isn’t the goal here; learning is.
So, I sanded it back down and reconsidered my approach. After a week spent researching techniques, I decided to try a pre-stain conditioner. It worked wonders! I almost cheered when the second coat came out smooth and even. Seriously, if I had a bottle of celebratory soda, I would have popped it right then!
Find Your Own Projects and Passion
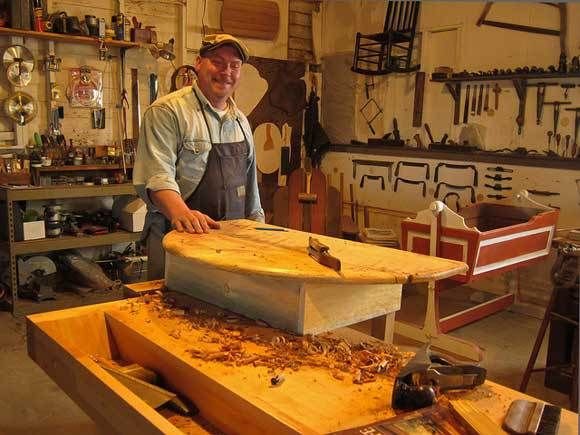
In the end, I finally had this nightstand that managed to look like just that — a real piece of furniture. Once it was all together, I set it down next to my bed, placed my lamp on top, and admired my handiwork. I couldn’t believe I had made something that was officially a part of my home.
You know, it’s funny. I went through so many ups and downs during that process, like an emotional rollercoaster. But every mistake taught me something, and honestly, nothing felt better than standing back and looking at that nightstand. It’s not perfect, and I see all the little misalignments only I would notice. But it’s my misalignments, my blood and sweat tucked into those corners.
So, if you’re sitting here thinking about taking on a little woodworking project like a nightstand, just go for it. You’re gonna mess up—that’s a given. But you’re also gonna surprise yourself in ways you never expected. I wish someone had told me this earlier: it’s all part of the ride, and you’ll be better for it. Seriously, grab that wood and make something; you might just end up loving it.