The Adventure of Building a Storage Ottoman
So, there I was, sitting on my couch one rainy Saturday afternoon, coffee in hand, staring at the clutter around my living room. You know the type—sneakers tossed haphazardly in the corner, a couple of books piled high, and a stack of blankets that had thrown a mini coup on the armchair. It hit me: I needed something—a storage ottoman, perhaps—to whip that chaos into shape. But instead of just buying one, I thought, “Why not build it?” That seemed smarter, a bit more fulfilling, you know?
A Bright Idea
I had dabbled a bit in woodworking before. A few birdhouses (that got snagged by an ambitious woodpecker) and some shelves that were more “rustic” than intended, if you catch my drift. But I figured this was my chance to up my game. I could practically see my living room transformation in my mind’s eye. Those Pinterest pictures—beautiful, aren’t they? I was ready to dive in.
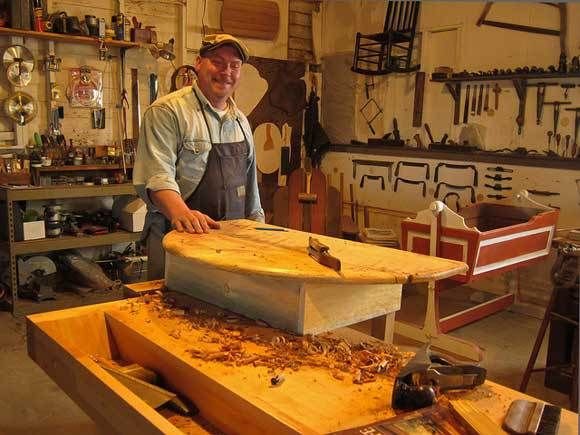
I headed down to my garage, that little sanctuary where I’ve spent countless hours tinkering. The smell of sawdust, mixed with freshly cut pine… it’s weird, but I kinda like it. Anyway, I decided to go with pine for this project—softwood, easy to work with, and less heartache if I messed up, which I had a sneaking suspicion would happen.
The Tools of the Trade
Now, let me tell ya about my tools. I’ve got this trusty old miter saw that’s seen better days. I swear, it could tell stories of all the projects we’ve tackled together. The way it sounds when it starts—this low hum followed by a sharp whir—it gets me every time. It insists that we’re in this together.
I also pulled out my router—again, a bit worn but reliable, like an old friend. And, of course, a drill because what’s woodworking without a drill to add that satisfying vroom sound to every screw you sink?
I sketched a basic idea on some scrap paper. You know, just a box that opens up. Simple, right? I mean, how hard could it be? I chuckled to myself, thinking it was going to be a smooth ride.
The First Hiccups
Oh boy, was I wrong.
I started cutting my wood pieces, measuring twice and cutting once, as the saying goes. But then, I had that moment where your gut kinda crinkles, and you think, “Did I really measure that right?” I double-checked, and lo and behold, I’d cut one piece an inch too short. I nearly chucked my coffee cup in frustration. It’s maddening when you realize, “I could’ve saved myself ten minutes if I had just been a little more careful!”
But, you know, I powered through. I patched things up with wood glue—thankfully that stuff is practically a miracle in a bottle. I clamped the pieces together and stood back, staring at my somewhat lopsided assembly. I could almost hear it laughing at me.
The Real Challenge
As I continued piecing it together, it dawned on me I’d need to make the lid. Now, don’t get me wrong; I had a vision. I wanted it to be cushioned and upholstered because who doesn’t love a comfortable place to rest your feet?
But that meant getting fabric. You wouldn’t believe how many trips I made to Hobby Lobby to find the right stuff. The first fabric was way too fancy—like “dining room in a posh restaurant” fancy. The next was perfect in my mind until I got home and realized it was more suited for a kid’s playroom. Finally, I settled on this soft, dark gray material that seemed to whisper, “You got this.” That fabric had a nice texture, too; I’ll tell you, there’s something special about running your fingers over good fabric.
So, I stretched and stapled it with my trusty staple gun, the air thick with that distinct smell of upholstery glue. This part was surreal. I could almost hear my living room cheering me on.
The Big Reveal
Finally, I added the finishing touches—bit of sanding, a coat of varnish, and oh, that sheen was beautiful. I waited for the varnish to dry; it felt like waiting for Christmas as a kid. The moment finally came, and I brought that sturdy ottoman into the living room.
I almost couldn’t believe my eyes. There it was, sitting in the middle of the room like a proud ambassador of order.
But then, just as I put my feet up for the first time, I was reminded of my earlier mistake. The lid creaked. I laughed at first, thinking it was just the wood settling in. But then I felt that familiar tinge of doubt creeping in. “Did I really build this to last?” I thought. But let me tell you something—there’s something magical about furniture you’ve made with your own two hands. It’s not perfect, but it’s mine.
A Warm Send-Off
If you’re out there in your garage or workshop, wondering if you should take on a little woodworking project like a storage ottoman, just do it. Make those mistakes, learn the hard way, and let the wood teach you. It’s such a rewarding feeling, seeing the fruits of your labor. I almost gave up during that one cut, but I promise, the feeling of finally sitting on something you made? It’s worth every minute spent in sawdust and glue.
So grab your tools, your coffee, and maybe some friends if you’d like. Just dive in and give it a shot; you might surprise yourself.