The Nightstand Journey
Sittin’ here on my porch, cup of joe steaming beside me, I can’t help but chuckle thinking ’bout that time I attempted to build a nightstand. You know, just a simple little piece to sit next to the bed, hold the lamp, maybe a book or two. Shouldn’t be hard, right? Well, let me tell you, if you think it’s that simple, you’re in for a ride.
So, it all started on one of those lazy Sunday afternoons. I was scrolling through my phone, just wasting time, when I came across this free woodworking plan for a nightstand. "Hey, that looks easy enough!" I thought. Just a few boards, some screws, and maybe a coat of stain. How hard could it be? Spoiler alert: harder than I thought.
Picking the Wood
I darted over to my local lumber yard, and wow, the smell of the place hit me like a wall of nostalgia. You know the scent, right? Fresh-cut pine mingling with that earthy aroma of cedar. I’d often go there with Dad when I was a kid, dreaming about building all sorts of things. Now, here I was, standing there with a shopping list that mainly existed in my head.
I settled on some pine. It’s easy to work with and, let’s be honest, it was pretty affordable. I picked out some boards and haggled a bit with the guy behind the counter. You’d think I was buying a luxury wood given how much I talked him down—I mean, I was trying to impress. A few dollars saved here and there adds up, right?
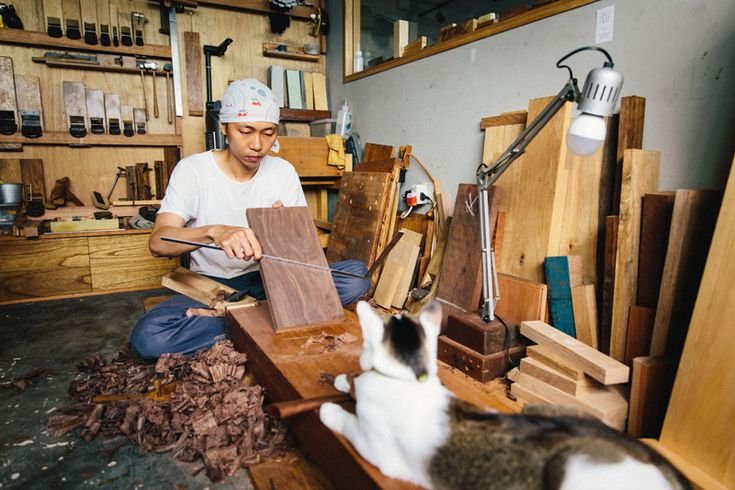
The Assembley
Back in the garage, I laid everything out like I was some sort of woodworking Picasso. Everything looked great, and I felt more confident than a rooster in a henhouse. Until… I realized I forgot to bring my circular saw. Oh boy, you should have seen me. I almost gave up right then and there. The thought of driving back to the lumber yard felt like a mountain climb, though I knew I had to do it.
So off I went—another round of the lumberyard dance. After a quick chat with the cashier about saws and which ones make the prettiest cuts, I had my trusty Ryobi circular saw in hand and made my way back. Can I just pause here to say that there’s something deeply satisfying about that moment when you finally step into your workspace with everything you need? It’s like being armed with a cup of hot coffee.
Learning the Ropes
Okay, so with saw in hand, I started measuring. And then I measured again. Think "measure twice, cut once," right? Well, somewhere between the excitement and my ‘good enough’ attitude, I managed to cut two side panels an inch shorter than I needed. Just like that, my heart sank. I almost tossed the whole thing out and went back to scrolling my phone. Instead, I took a deep breath, poured myself a fresh cup of coffee, and reminded myself that mistakes are just part of it.
I ended up using some scrap wood to patch things up—yup, that’s a lesson learned right there. You can always find a way around a mistake if you’re flexible and a tad creative. It wasn’t the prettiest fix, but hey—it was my nightstand. Besides, I could claim it as “character” later on. Who doesn’t love a bit of rustic charm?
Putting It All Together
Fast forward a few hours, and I finally had the main structure together. I stepped back, covered in sawdust, smelling like a cedar forest, and thought, “Huh, I might actually have something here.” Of course, this was followed by the scary moment of declaring it good enough to stain.
Oh man, that first stroke of stain made my heart race. I went with a dark walnut; just like the ones I’d see in those fancy furniture stores but maybe a touch less polished. It was smooth going on, almost velvety, and the grain just popped with every brush stroke. I was feeling high on life then, thinking about how satisfying it would be to set that thing up next to my bed.
Until… I looked at the instructions again and realized I hadn’t accounted for the drawer. Yep, forgot the drawer entirely. I mean, it took a while to process, but I just laughed at the absurdity of it all. Of course, I’d forgotten a drawer!
The Final Touch
To make a long story short, I scrambled to fit a simple drawer into the frame. I ended up getting one of those cheap, pre-made drawer kits because, at that point, I wanted to finish the darn thing. It wasn’t glamorous, but it slid in like a dream.
Finally, after a weekend filled with mishaps and odd noises from my garage, I stood back and admired my handiwork. That nightstand was the culmination of trial and error, too many trips to the lumberyard, and a good amount of coffee. And you know what? It felt good. I mean, really good. Finished or not, this piece of wood was a testament to my stubbornness and a few creative hacks I pulled along the way.
A Warm Send-Off
So, if you’ve been thinking about starting a woodworking project—especially something like a nightstand—just do it. Don’t overthink it, and for heaven’s sake, don’t worry about being perfect. It’s all about learning as you go and maybe being a little proud of those mistakes along the way. I wish someone had told me that sooner: it’s perfectly okay to mess up. It’s even more okay to embrace those moments; they become part of the story.
So, grab your tools, pick what you want to build, and dive in. Who knows? You might just end up with something that holds more than just the lamp by your bed. You’ll have a piece of your own journey, crafted snugly in your home. Cheers!