A Journey Into Dutch Bucket Hydroponics: My Backyard Adventure
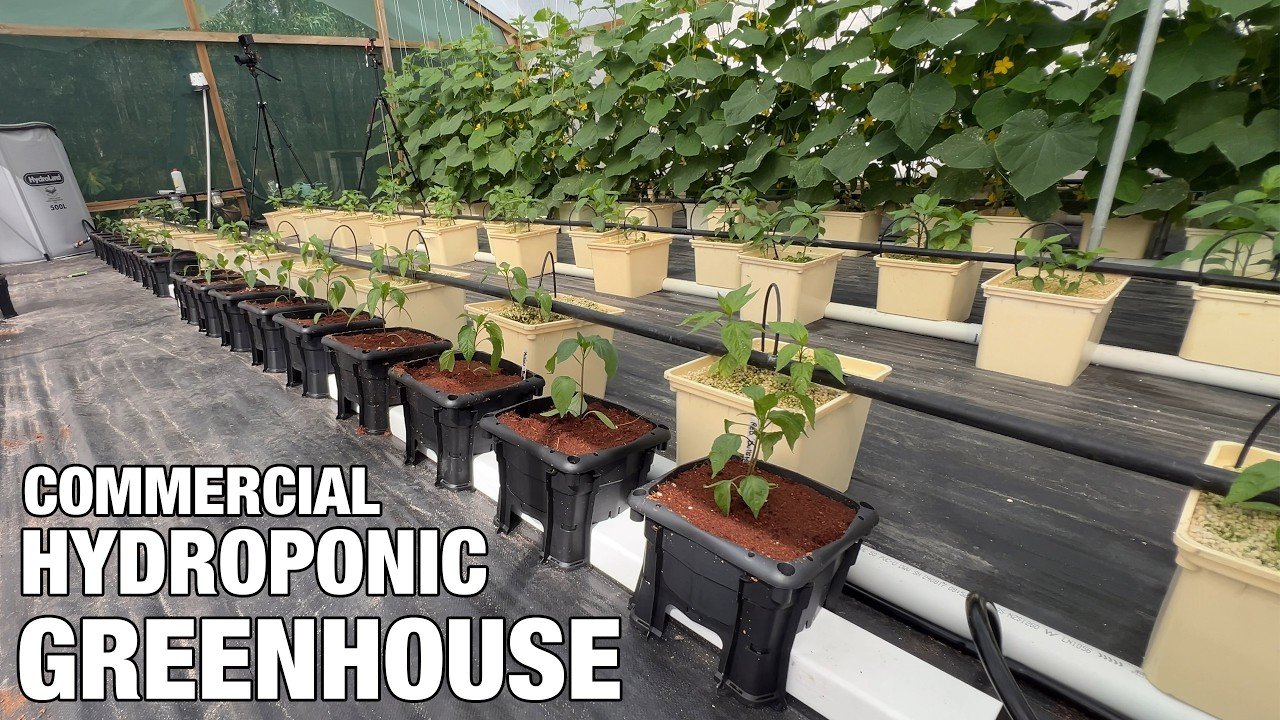
There I was on a sunny Saturday morning, coffee warming my hands while I gazed out into my backyard, daydreaming about growing the juiciest tomatoes and crispest lettuce. I’d had enough of store-bought veggies that tasted of cardboard. I wanted to feel the dirt under my nails and the satisfaction of feeding my family with something I’d nurtured myself. But a traditional garden? Too much work and too little yield for my taste. I wanted something more… innovative. Enter: the Dutch bucket hydroponic system.
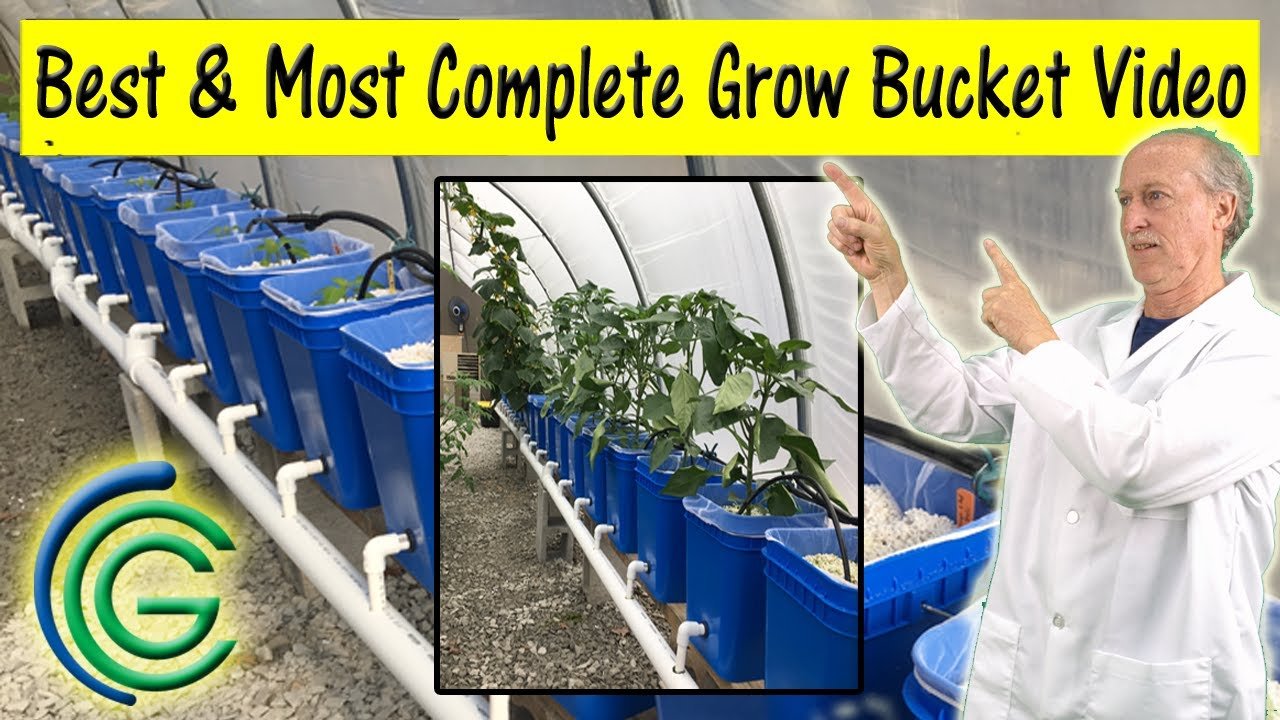
Now, I’ll admit that my journey to perfecting this was far from smooth. In fact, I think it could almost qualify as a comedy of errors. I remember coming back from my local hardware store, plunking my purchases down on the kitchen table with a mix of excitement and trepidation. "What have I done?" I thought, looking at the sea of PVC pipes, buckets, and a submersible pump I was convinced would be my golden ticket to hydroponic heaven.
That First Purchase: A Deep Dive Into Mistakes
To start, I figured I’d use a few five-gallon buckets—stackable, easy to find, and oh-so-cheap. It seemed simple enough. “Just drill some holes, fill these babies with hydroton, and screw the lids back on,” I had confidently muttered several times in front of my wife, who gave me that skeptical eyebrow raise. Her trust in my DIY abilities wasn’t exactly sky-high, thanks to my last great idea: the aquaponics system that ended with me staring into a murky pond with fish that had long since kicked the bucket—literally.
I picked out goldfish for the aquaponics. Goldfish! What was I thinking? They weren’t exactly the hardy creatures I needed, and let’s just say our beloved pets didn’t last long. The water turned green almost overnight— and the smell? Good grief, it was like a swamp in July. Learning from that blunder, I opted for tilapia this time. Tough little fish that could withstand my clumsy attempts at creating an ecosystem— or so I read online.
One thing I remember vividly is the sharp bite of the cold water as I tested the temperature in the plastic tub I scrounged from the shed. I think that thing had been home to my cousin’s failed beehive venture. Maybe if I’d washed it out more thoroughly, I wouldn’t have gotten the occasional whiff of stale honey as I leaned over to adjust the air pump. No wonder those poor fish never looked happy.
The Drilling Debacle
Fast forward to the well-remembered day when I thought I’d finally nailed it. Buckets ready, I settled down with my trusty drill, feeling like a bit of an expert as I lined them up in the backyard. I’ll never forget how my neighbor, old Mr. Thompson, poked his head over the fence and asked if I was “planning to build a spaceship.” My response? “No, sir, just gardening!” Not my brightest moment, but hey, I was too busy living the dream.
I started drilling holes, one bucket at a time— filling almost each to the brim with that hydroton like I was laying down the most luxurious spa treatment for future seedlings. And then, disaster struck. I had underestimated the power of gravity, apparently. The first few buckets worked like a charm, draining beautifully. But around bucket number six, water started pooling at the bottom, refusing to flow down like it should.
I panicked, my excitement morphing into dismay. “What’s going on?” I muttered under my breath as I wrestled with plumbing sealant and too many connectors to count. I did things like adding extra holes, which led to some genuinely wonderful geysers of nutrient solution shooting out and right onto my neighbor’s side of the fence. Spoiler alert: he didn’t find it as amusing as I did.
Finding the Flow
After a week or two of adjusting and tinkering, I finally found that sweet spot where water flowed freely and evenly. And let me tell you—there is something oddly satisfying about seeing plants take root in a dutch bucket. I planted a mix of everything—tomatoes, peppers, basil—my garden was going to be a veritable smorgasbord. The smell of fresh soil mixed with the pungent odor of nutrient solution became a symphony of life as each sprout began to rise and reach for the sun.
And there I was, watching my little green kingdom grow behind the kitchen window, feeling surprisingly proud of the magical little ecosystem I’d built. I even fed the fish from time to time, earning the delightfully naive title of “fish whisperer” from my kids, who didn’t know just how close I had been to washing those little guys out to sea with my ineptitude.
The Takeaway
Let me tell you, if you’re considering building your own hydroponic system, don’t worry about getting it perfect. I spent way too many late nights fretting over every little detail when all I really needed was to jump in. Sure, there were moments I almost threw the whole contraption out the window (and I wouldn’t be surprised if the neighbors started keeping an eye out for flying PVC pipes). But there’s so much joy in trial and error that takes you on a journey like no other.
Feel free to start small and just trust that you’ll figure it out as you go. You’ll make some mistakes—likely lots of them—but each one teaches you something invaluable. Get started! You won’t regret it.
And speaking of starting out, if you’re looking for some guidance or a community to share your crazy ideas with, check out this link for the next session of hands-on learning: Join the next session here. Happy gardening! 🌱

Leave a Reply