My Adventure with a Jelly Cabinet
Grab yourself a cup of coffee, will ya? I’ve got a little story to tell you about this quirky project I took on recently—or should I say, this wild ride that started in my garage and ended up in my living room. You see, I’ve gotten the itch for woodworking over the years, like a farmer who just can’t help but dig his hands into the soil. But let me tell you, working on that jelly cabinet was a learning experience I won’t forget anytime soon.
Now, I’ll admit, the idea hit me on a Saturday morning while I was sipping my coffee, half-listening to my neighbor’s porch bandsaw humming away. You know how it is. I just finished the last of my peanut butter on toast and was feeling a little adventurous. A jelly cabinet—basically a fancy name for a simple cupboard to hold all those jars of homemade jams (along with whatever else isn’t in the fridge).
Choosing the Wood
First off, let’s talk about wood, because, believe it or not, that was my first bump in the road. I thought to myself, "Ah, pine. It’s cheap, it’s light, and it’ll get the job done." So off I went to the local hardware store. The smell of fresh-cut wood always gets me. It’s like a natural cologne with those earthy, rich undertones. I grabbed a few boards of pine, along with some oak for the carcase, since I figured I’d want something a little sturdier for the base.
But here’s where I went wrong. I didn’t check the grain. Ohhhh, the grain! When I got home and started measuring—well, let’s just say I learned the hard way that not all boards are created equal. I ended up with wavy, twisted pieces that just didn’t match. Almost threw my tape measure across the garage in frustration.
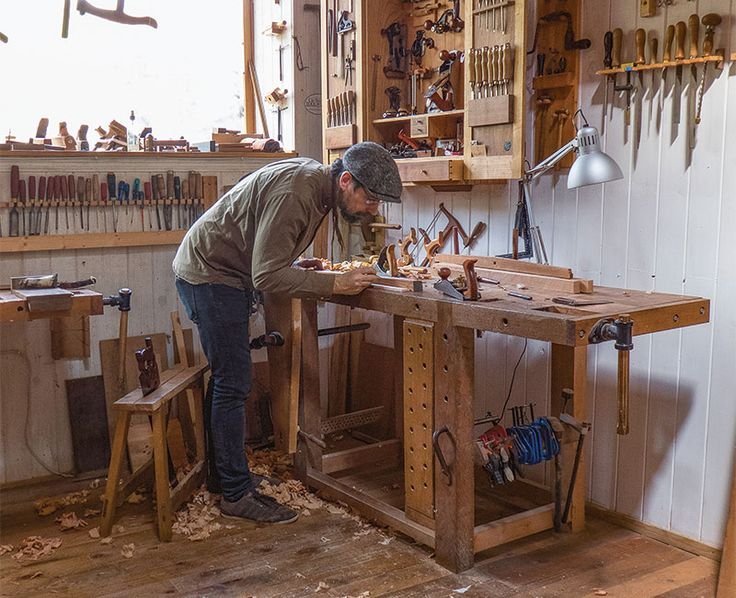
Cutting and Mess-Ups
Let me tell you, cutting those boards was both satisfying and nerve-wracking. I’ve got a trusty old circular saw—a Makita model I’ve had for years, and it gets the job done. But that thing can also bite if you’re not paying attention! I swear I nearly took a fingertip off when I was too busy daydreaming about the home-cooked meals I could store in that cabinet.
But hey, I took a breath, put on some gloves, and kept going. I started feeling pretty good about the whole thing until I hit the assembly stage. By then, I had this beautiful array of wood pieces all laid out Like the blueprints of an architect, but less organized. When I finally started putting it together, it dawned on me that I forgot to pre-drill the holes. Rookie mistake!
You wouldn’t believe the racket that ensued. I was hammering away, not realizing that I was splitting my wood. The sharp clinking sounds echoed, accompanied by that awful, splinter-y smell. If they ever made a horror film for woodworkers, that would be the soundtrack.
The Wobble
So, once I finally got everything assembled, I stood back with a beer in hand, admiring my handiwork. That was when the horror struck. The thing wobbled like a newborn calf trying to stand for the first time! I almost laughed, but it was more of a chuckle mixed with sobs. After all that work, and here I was, looking at a jelly cabinet that couldn’t even hold its own weight.
I could feel the weight of my friends‘ expectations looming over me. They’d seen my earlier projects and kept saying, “You should sell your stuff!” Yeah, well, not this one buddy. I had a moment there, sitting on my garage floor, thinking maybe I should give up and stick to Netflix. But then, with myself on the line, I had to give it another shot.
Fixing the Wobble
So I went back to the drawing board, literally. I spent a good half-hour just pondering what I could do. I ended up using some extra hardwood scraps I had lying around to create a supportive base. Just a simple cross-brace under the bottom shelf, nothing fancy. Well, let me tell you, once I added that in there, it was solid as a rock.
When I finally stood it back up, it was like that moment in the movies when everything clicks into place. I stood there, grinning like a kid at Christmas. “You did it, you actually did it,” I muttered to myself.
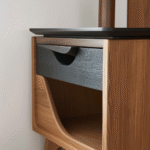
The Finishing Touches
Now came the fun part—finishing. I opted for a homemade oil finish, a mix of tung oil that always leaves my wood glowing like it’s been kissed by the sun. The smell wafted through the garage—there’s something comforting about it, isn’t there? Almost like the scent of a good meal simmering on the stove.
After a few coats, I placed my jars of jam inside, and let me just say, watching it all come together left me feeling like an accomplished chef, or maybe even a proud parent. I even snagged a couple of jars of rhubarb jam that my mom made; you know the kind, lovingly poured and sealed with a pretty label.
Lessons Learned
So, what’s the takeaway from my jelly cabinet saga? Well, I guess it’s this: it’s okay to stumble and wobble along the way. Whether you’re working with wood or life itself, some projects hit the mark while others take a little more finesse. If you’re considering diving into something like this, just go for it. You might mess up—hell, I sure did—but you’ll end up with stories to tell and maybe even a beautiful piece to cherish, wobble-free.
And who knows? You might even start a new tradition of picking fruits and making your own jams, while your jelly cabinet proudly stands in the corner holding it all. Like I said, sometimes it’s the journey that makes the destination worthwhile.