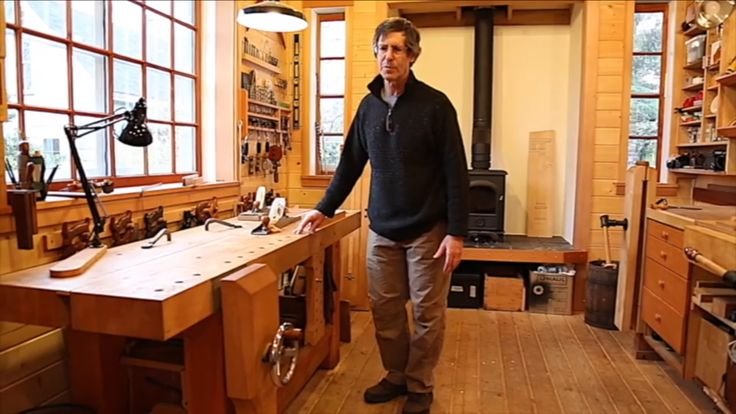
A Small Town Project: Building My Own Gun Cleaning Box
You know, sometimes it feels like life has a funny way of nudging you toward projects you didn’t even know you needed. Picture this: a crisp Saturday morning, the sun peekin’ through the trees, a hint of woodsmoke in the air. I’m sittin’ there with my cup of black coffee, just thinking about how I’ve always hated cleaning my guns. It’s about as exciting as watching paint dry, right? But, hey, cleaning is part of the game. So, I thought, why not make a dedicated gun cleaning box?
The Idea That Sparked a Thousand Thoughts
It hit me one day while I was rummaging through a box of old tools—I spotted an old, ratty toolbox I had inherited from my granddad. There it sat, all faded and rusted, and somehow that toolbox spoke to me. "You need a gun cleaning station," it seemed to whisper. The gears started turning. I started sketching ideas for a gun cleaning box. But, as usual, that’s when the trouble began.
First off, I had a lot of confidence, way more than I should’ve considering this was my first woodworking project in quite some time. I had some rough plans floating around in my head, pieces I’d seen at the hardware store… all I needed was the wood, some patience, and a little elbow grease.
Choosing the Wood: A Smelly Decision
Off I went to the local lumberyard, and let me tell you, that place smells of sweet wood shavings and freshly cut timber. I wandered around, and the scent of cedar and pine was intoxicating. I finally settled on pine for the box—easy to work with, cheap, and smells divine. Plus, I thought it would take the abuse of gun cleaning without falling apart.
I had my measurements in my head but, folks, let me tell you, precision isn’t always my strong suit. I’d like to say that I’m a natural, but, boy, did I mess up on my first cut. I got a bit too eager; before I knew it, I had a couple of pieces that were way too short. I laughed when it really hit me that I was going to need more wood, paid for twice the amount I initially planned. Lesson? Measure twice, cut once—classic advice for a reason!
The Tools: Old Friends and New Struggles
In my little garage workshop, I gathered up my tools. My go-to circular saw, a jigsaw I inherited from my uncle, and a trusty old hand saw—yup, just to mix it up a bit. There’s something comforting about using an old tool that’s seen its fair share of projects, y’know? It’s like working alongside a friend who has lived through it all.
Anyway, as I started to put the pieces together, I found myself wrestling with the box’s design. I wanted it cute and functional, spacious enough to hold all my cleaning supplies. I sketched out some compartments in my head—thinking of where I’d want to store my brushes, patches, and oils. But, good grief, anyone who’s ever tried to build something understands that wood doesn’t always fit together how you want it to.
I almost gave up when I realized I didn’t know the first thing about joining the corners. I must have tried a half-dozen different methods before figuring I could just slap on some corner brackets. Not pretty but effective. I’d always heard that you can’t rush art, but sometimes you have to settle with functionality over aesthetics.
The Moment I Think I’ve Ruined It All
The big moment came when I had all the pieces cut and sanded down to a silk-like finish. The smell of wood dust was all around, hanging in the air like an old friend. I applied some stain—a nice dark walnut that promised richness and depth. I thought, "Look at me, I’m practically a woodworker now!" Then, it hit me like a ton of bricks: I stained the inside before realizing I should have done the outside first. I panicked. A stained box at this point could become a sticky mess.
But I laughed when my wife walked in, and I explained my calamity, half poking fun at myself. She smirked, shook her head, and handed me some mineral spirits, saying, "Just clean it up." And that’s what I did—scrubbed away the inside until I could salvage it. Sometimes it’s just about rolling with your mistakes and making it work.
The Satisfaction of the Finished Product
Finally, after what seemed like an eternity of measuring, cutting, re-cutting, and staining, I had my gun cleaning box. It wasn’t perfect, but it was mine—filled with memories of a project that took me a little outside my comfort zone. I could’ve put in some fancy brass hinges, but I opted for simple steel. I figured every scratch and dent would add to its story, so why hide that?
Setting my cleaning supplies inside was like a mini celebration, and I swear I sat there for a good five minutes just admiring my work—right next to my cup of cold coffee. The sounds of the neighborhood—the laughter of children playing outside, a lawnmower roaring to life—felt like a comforting backdrop to my handcrafted success.
The Takeaway
So here’s the thing: if you’re thinking about diving into something like this, just go for it. Sure, you may stumble like I did and worry about whether you’re good enough, but trust me—there’s something special about creating something with your own two hands, mistakes and all. You’ll learn more about yourself in the process than any internet guide will tell you. Just grab that wood, those tools, and let the smell of sawdust guide you. Happy building!


