A Dabbler in Dimpter Woodworking
You know, life in our little town isn’t always filled with big adventures, but every now and then, something small can turn into a pretty memorable experience. Take woodworking, for example. You’d think it’s a straightforward hobby—just whack a few pieces of wood together and, bam! You have a coffee table. But, oh boy, where do I even start?
The Hair-Brained Idea
A couple of summers back, I decided I was going to tackle a dimpter woodworking project. Never heard of it? Well, neither had I until I saw a couple of folks online singing its praises. Lots of fancy talk about intricate designs and how, with just a few tools, you can create beautiful pieces that almost look like art. I mean, who wouldn’t want a hand-crafted treasure in their home? Plus, the Instagram-worthy photos were kind of a lure too—let’s be honest.
So, on a lazy Saturday afternoon, armed with nothing but a cup of coffee and a burning desire to carve my name in the woodworking realm, I strolled into the local lumber yard. Ever been in one of those places? The smell of freshly sawn wood hits you like a wave. It’s exhilarating, really. I wandered down the aisles, running my fingers across everything from cherry wood to oak, trying to feel inspired.
I ended up going with poplar, mostly because it was cheap and not too bad to work with. A tip for any aspiring woodworkers—don’t be like me and forget to ask about the grain. Spoiler alert: straight grain is way easier to manage than the knotty mess I ended up with.
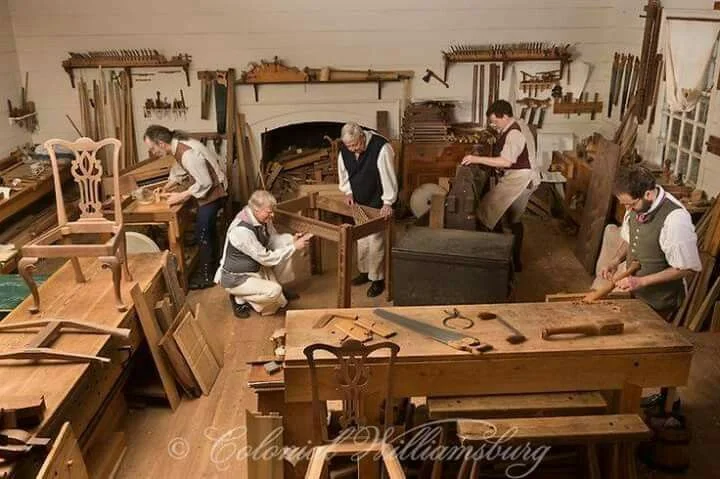
The Tools of the Trade
Now, I fancy myself somewhat of a DIYer, which means I have a collection of tools just waiting to be put to good use. I gathered a trusty old jigsaw, a sander (good ol’ Black & Decker, worked like a charm), and the least rusty clamps I could find. But as the pieces started to come together, I realized I might have bitten off more than I could chew.
You see, the dimpter technique involves some fancy finger-jointing. Imagine two pieces of wood gripping each other like best friends at a reunion. The idea was to create this cozy joint to hold the whole thing together. Sounds simple enough, right? Let me tell you, after a few hours of swearing at the jigsaw trying to get it just right, I was ready to throw in the towel.
A Lesson in Perseverance
I was in the garage, alone, with the kind of quiet that makes you question all your life choices. I almost gave up halfway through, staring at the rough start I’d made while the sun set slowly outside. It was then the idea hit me—or maybe it was just a moment of madness. I decided to grab my phone and start watching a YouTube video featuring a guy with a ridiculously thick accent explaining finger joints like it was as straightforward as slicing bread.
At that point, I started laughing. Like, really laughing. The contrast between my struggle and his calm demeanor made it all feel ridiculous. But, heck, a lesson is a lesson. I got back to it, and slowly but surely, I made progress.
Those little joints? Well, they didn’t turn out perfect, but they held. And that feeling! Oh man, when I realized that it actually worked, I felt like I was a hero in my own little woodworking saga.
The Heart of the Project
Once I got going, it was that sweet, sweet scent of poplar wafting through the air mixed with the roar of my sander that made me realize I was, in fact, doing this. I remember humming some song out loud, just me and my little contraption, while the sander buzzed louder than my kids’ video games.
Oh, but let me tell you about the finishing touches. I thought, “How hard can staining it be?” Famous last words, right? I picked up a can of walnut stain at Home Depot, thinking it’d give me that rich look I wanted. Turns out, I underestimated the importance of even application. I ended up with a lovely splotchy effect that looked more like an abstract painting than a smoothly finished coffee table.
I toyed with scrapping it all, but I decided to embrace the imperfections. After all, who doesn’t have a few scars to show for their battles?
Wrapping Up
When I finally dragged that dimpter coffee table inside, I felt a wave of accomplishment wash over me. Sure, it wasn’t the perfect piece of furniture you’d find in a catalog, but it was mine. Each flaw told a story—a reminder of a moment when I almost quit but pushed through instead.
So, if you’re thinking about diving into woodworking, even if it sounds a bit intimidating, just go for it. Embrace the mess-ups, the odd joints, and the laughable disasters. You’re in for a wild ride, but there’s a certain magic in seeing something you’ve created, regardless of its quirks. And who knows? You might end up with your own story to tell over coffee someday.