The Heart of Custom Woodworking: Lessons from the Workshop
Y’know, there’s something about the smell of freshly cut wood that just calms you down. It’s like being wrapped in a warm blanket of sawdust and cedar. I suppose that’s why I keep going back to the garage, even after a long day at work—just me, my tools, and whatever piece of lumber I’m wrestling with that week.
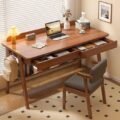
Take, for example, the time I decided to craft a dining room table. My wife absolutely loves the farmhouse style—who doesn’t, right?—and I figured, “How hard could it be?” Little did I know, life had a few lessons in store for me.
The Plan (or Lack Thereof)
So, I started with a plan—or at least, what I thought was a plan. Honestly, it was just a couple of blurry sketches on an old napkin. I had the measurements, sure, but I didn’t really think about the actual wood. After a few trips to the lumber yard, I settled on some beautiful, thick oak. Man, that stuff is heavy, but the grain is just breathtaking.
I remember rolling up to the yard, thinking I was hot stuff with my truck ready to haul, and the clerk looked at me like I was a rookie when I asked where the oak was. Maybe I was a rookie. Or maybe I just like to pretend I know what I’m doing.
I loaded the boards, feeling like a champ, only to realize later that I forgot to account for splitting. You see, oak is kinda notorious for wanting to crack if you don’t treat it well during your cuts and assembly. And wouldn’t you know it, by the end of it, I had a couple of boards that decided they wanted to be decorative rather than functional. Lesson one: maybe do some research before you get too far ahead of yourself.
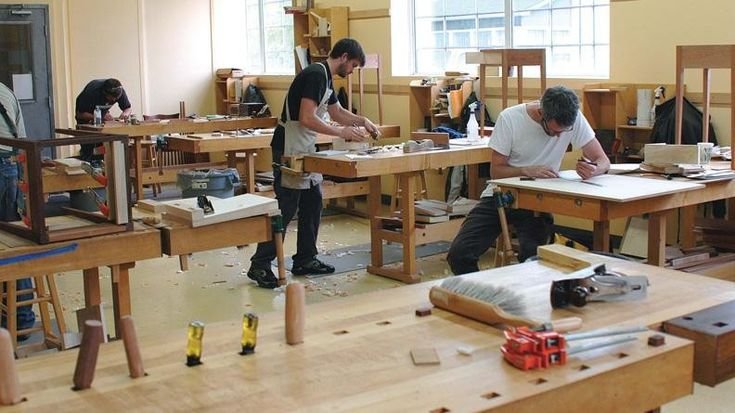
The Cutting Stage
Fast forward to the cutting stage, where you can truly hear wood singing to you through the whir of the table saw. There’s something about firing up that beast, the smell of the sawdust hanging in the air, and the slight vibration in the ground beneath my feet. I had my trusty DeWalt table saw set up, ready for action.
Now, here’s where I almost threw in the towel. I was cutting lengths for the tabletop and just wasn’t getting it right. The pieces didn’t line up. Like, at all. I stepped back, scratching my head, and felt a wave of doubt wash over me. Did I seriously just waste a chunk of good oak?
After taking a breather with a cup of coffee—okay, more like two—I finally started measuring twice and cutting once. Man, that felt cliché, but it really works. I must’ve been in a frenzy the first round; you’d think I was trying to make a puzzle that didn’t exist.
The Assembly (or, The Moment of Truth)
Once I had all the cuts right, it was time to assemble the tabletop. There’s a certain thrill in connecting each piece together, almost like putting together the most difficult jigsaw puzzle. I used Titebond III glue and my trusty clamps (I cannot stress enough how handy those are!), and I thought, “Finally, this is looking like something!”
But oh boy, let me tell you, I learned quick that patience is truly a virtue. Clamping those boards down was like trying to herd cats. One side would stick together, while the other seemed to have a mind of its own. It felt like the wood was trying to slap me back for my earlier mistakes.
After wrestling with those clamps for what felt like hours, I finally let it dry overnight, but I couldn’t help peeking every few minutes. Maybe I was anxious, maybe it just felt like I was waiting for the results of a big exam. And when I pulled it apart in the morning? I laughed out loud. Somehow, it worked! A solid, beautiful tabletop emerged from the chaos, and I felt like I had just pulled a rabbit out of a hat.
Finishing Touches and a Lesson Learned
Now, the finishing part—my personal favorite and least favorite, all at once. I wanted a natural finish to really showcase the wood grain. I chose a mix of Danish oil and polyurethane. Strong aroma, y’know? It filled the garage, giving it that “workshop” vibe.
But, let’s be real, I made a mistake here, too. I got a little cocky and didn’t sand between coats like I should’ve. My wife, bless her heart, pointed out the little bubbles that formed. Talk about an embarrassing moment! I almost gave up right there, thinking, “What’s the point of even finishing it?” But she reminded me that imperfections are part of the charm.
So, I sanded it down again—thankfully not too deep—and applied another coat. This time, it came out smoother than a jazz record. In the end, the little quirks and imperfections reminded me that it was made with love, mistakes and all.
The Takeaway: Just Go for It
You know, this entire project taught me so much more than just how to build a table. I learned about patience, about measuring twice (and sometimes three times), and about the power of persistence.
If you’re thinking about diving into something like this, I say just go for it. Don’t be afraid of those mistakes; they’re usually where the magic happens. Sure, you might wrestle with a piece of lumber that thinks it can walk away or mix up a few measurements, but at the end of the day, it’s about the journey and the joy of creating something that’s uniquely yours.
So, next time you get that itch to build something, embrace the chaos. Let the wood tell its story, and remember, it’s all part of the experience. Here’s to more sawdust in our futures!