Making a Computer Desk from Scratch
So, there I was, sitting at my kitchen table, my laptop crammed in between stacks of bills and the leftover pizza from three nights ago. It was time to face the reality of my situation: I was working from home, and my temporary desk setup was about as organized as a tornado. I needed a computer desk. A real one. And if you know me at all, I wasn’t about to just go down to the big box store and buy something pre-made. Nah, that just wasn’t my style.
The Spark of an Idea
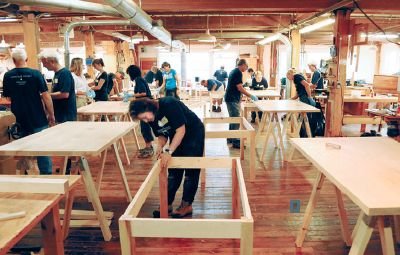
One crisp Saturday morning—sunshine breaking through the trees and the smell of coffee filling the air—I decided I was gonna build myself a computer desk. I’d done enough woodworking projects in my garage over the years, mostly simple stuff like birdhouses and a couple of frames that I’m actually quite proud of. But this felt different. This wasn’t some whimsical project. No, this was about carving out my work space, something that’d help me stay focused.
I hopped onto the internet—thank the stars for Pinterest and all those DIY blogs—looking for computer desk plans. I thought to myself, “How hard could this really be?” Plus, there were a ton of free plans out there. After scrolling for what felt like forever, I settled on a simple design I found. Just a rectangular top with some sturdy legs. It looked easy enough, and, well, you can’t go too wrong with a rectangle, right?
The First Trip
Armed with my plans and a grocery list of materials, I headed to the local lumberyard. You know, the kind of place where the sawdust clings to everything, and you can smell the fresh cut wood wafting through the air? I love that smell, by the way. It’s like a warm hug from childhood projects.
I picked up a couple of sheets of ¾-inch plywood for the top and some 2x4s for the legs. Honestly, I felt like a kid in a candy store. But as I was wandering around, I noticed I was getting a few strange looks from the staff. They probably thought I was lost—what does a guy in a plaid shirt really want with a full cart of wood and screws?
Lessons in Sizing
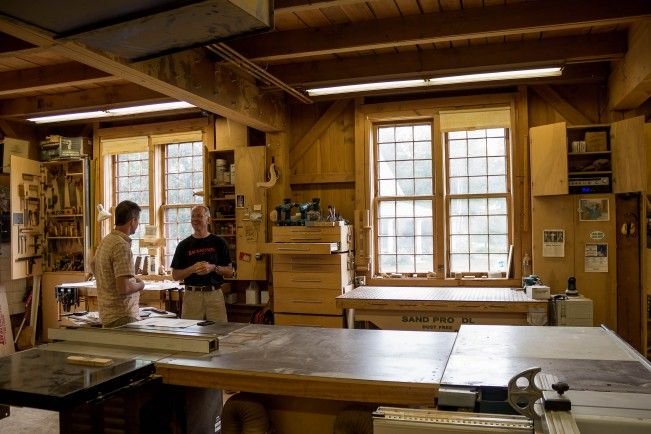
So, fast forward to the garage where I had my old table saw, a random assortment of clamps, and my workbench that has seen better days. The first step was cutting the wood to size, and I’ll tell ya, that was a whole adventure in itself. I almost gave up when I realized I’d mismeasured the plywood. Like, who measures twice, cuts once? Not me, evidently.
I was just about to throw in the towel and take a nap when I remembered that old saying—something about trial and error? So, I grabbed another sheet of plywood and started again. This time I triple-checked my measurements. I finally got the pieces cut right, and I felt pretty proud of myself. I even did a little dance when I realized they all fit together like a jigsaw puzzle.
The Almost Disaster
Now, here’s where it got interesting. I thought it’d be a smart move to use wood glue and screws to assemble everything. I’ve seen enough YouTube videos to know that was the way to go. But man, let me tell you, when I was screwing in those bolts, I misaligned a couple of the legs. By the time I figured it out, the glue had set, and I was one hundred percent convinced I’d just ruined my desk.
I was about to call it quits—heading for the garage fridge for a cold one to drown my sorrows—when I took a deep breath and decided, “Eh, it’s not that bad.” I could cover up the mistakes with some trim, right? Sometimes you just gotta roll with the punches, and here I was, trying to make the best of a “unique” desk design.
The Joy of Completion
After a long afternoon of sorting through my blunders, finally, the thing was coming together. I stood back to admire my work—what a sight that was! The legs were taller than I expected (adding a cushion to my chair would probably help), but the desk had character. It was all rough edges and mismatched screws, but it felt good, like it had a story to tell.
Fast forward a couple of hours, and I had it sanded down and prepped for some stain. I went with a dark walnut, something I thought would look classy. The smell of that stain wafted in the air, and honestly, it was like the icing on the cake. I remember sitting on that last coat, hoping I hadn’t messed it up this time.
When it was finally finished and I moved it into the house, it felt surreal. As I set my laptop on it for the first time, I couldn’t help but laugh. All those hiccups and doubts just faded away. Here was this desk, my desk, that was a tangible reminder of the patience and persistence that’s just part of the game.
Wrap It Up with a Smile
So, if you’re sitting there considering diving into a woodworking project, let me give you a little nudge. Seriously, just go for it. Like, yeah, you’ll probably mess up—maybe even multiple times—but that’s all part of it. Sure, I had my moments of wanting to quit, but at the end of the day, I built something that I get to use every day. And taming the chaos around my laptop? Well, that alone was worth it.
So grab your tools, a little wood, and maybe a cup of coffee (or a beer, no judgment here), and dive in. You’ve got this.