A Little Woodworking Adventure: The Bill of Materials Saga
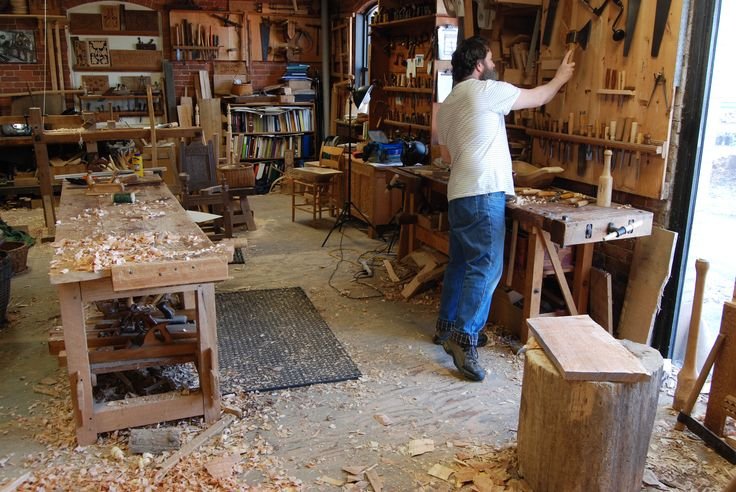
You know, there’s something entirely soothing about the smell of sawdust and the sound of a miter saw humming through a piece of oak. I often find myself in my garage workshop after a long day, just kind of getting lost in that world. Late one wintry afternoon, coffee in hand, I had this bright idea—or, at least, I thought it was bright. I was going to build a bookshelf for my daughter, a proper one, not some store-bought piece that looked like it could collapse with a sneeze.
But here’s where things went sideways. You see, as much as I like to pretend I’m some kind of woodworking wizard, I’m really just an average Joe who finds joy in the process. I cracked open my laptop, fired up a simple design software, and made a rough sketch. A great start, right? Well, there’s this nifty thing called a Bill of Materials—or BOM—that I totally overlooked at that moment.
The Messy Business of Planning
Now, a BOM is like your grocery list for lumber and hardware. It tells you what you need for your project, so you don’t end up in the middle of it wondering where on earth you put that extra board you were sure you had. It might even save you a trip to the hardware store—although, let’s be real, those trips can be oddly comforting.
The first snag hit when I headed to the lumber yard without a proper list. I strolled through the aisles, surrounded by that earthy, rich scent of pine, cedar, and oak, and my mind started racing. "Ooooh, that walnut looks nice!" "And maybe a little cherry for contrast?" I got carried away, picking up random boards without really thinking about how much I needed—like a kid in a candy store.
When I got home, though, reality hit me like a bolt from the blue. I had a pile of lumber, but no idea how to make it fit together. I almost gave up there and then, thinking, “What on Earth have I done? This was supposed to be simple.” With a sigh, I plopped down on the floor of my garage, staring at the jumble of wood like it was a giant puzzle I couldn’t solve.
A Lesson in Realization
It took a cup of coffee (or maybe three) and my daughter’s little voice in my head reminding me how excited she was about the project to get back to it. "Dad, can I help? Can we make it pink?" She was just a kid, but she had way more gumption than I did at that moment. That’s when I realized I needed a game plan, like yesterday.
So, I hopped online and dug up a simple BOM template. I swear, the moment the words ‘Bill of Materials’ stared back at me, it was like the skies cleared. I needed to know exactly how much wood, screws, and even glue would be part of this adventure. I jotted it all down: two 1” x 12” x 8′ pine boards for the shelves, one 1” x 3” x 8′ for the trim, a couple of brackets for support.
It felt good to actually get organized. It’s funny how something like a simple worksheet can help you feel like you know what you’re doing.
The Build Begins
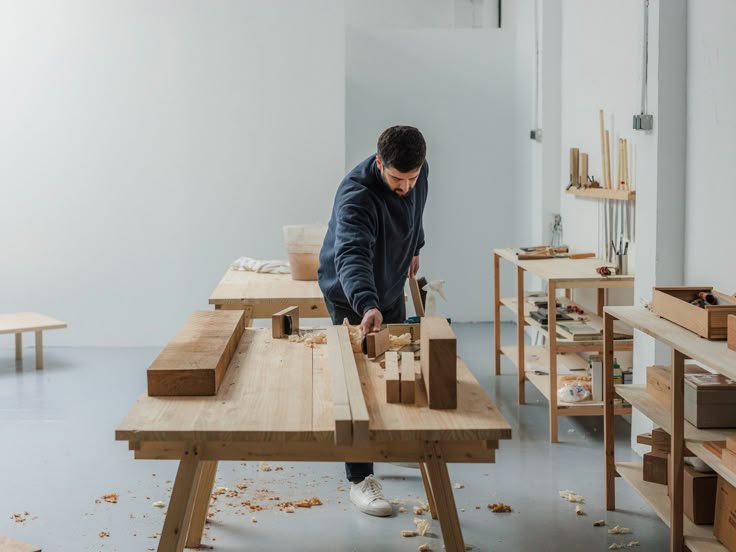
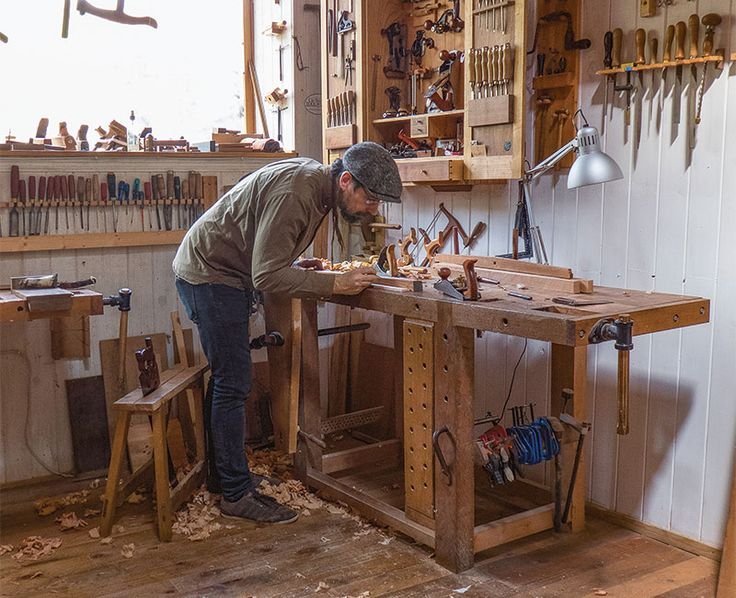
The next day, with my list in hand, I hit the hardware store again, this time focused. Getting back home, I rolled up my sleeves, the sound of my electric sander buzzing in the air, and started shaping those boards. Every stroke sent clouds of sawdust dancing around, and I could hear my daughter giggling as she played in the yard. That voice was the best kind of motivation.
Now, when you’re working with wood, each material has its own personality. Pine is soft and easy to work with, but can get splintery. That cherry? Oh, it smells divine as you sand it down, kind of sweet, like nature’s own perfume. I remember I was using my Ryobi sander, just humming along with it, thinking, "This is going to be a masterpiece!" I chuckled at my own optimism because, let’s face it, it’s usually nowhere near a masterpiece.
I remember the moment I actually got excited when the pieces started coming together—saw the shelves upright and looking solid. I couldn’t help but think about how my girl would decorate it with all her little knick-knacks and books, her face lighting up with each new addition.
The Final Touches
But, of course, it wouldn’t be an adventure without a hiccup. Remember those brackets I bought? Yeah, when I went to attach the shelves, I realized I hadn’t even bothered to measure where they needed to go. So there I was, trying to eyeball it, and let me tell you, math was not my strong suit back in school. After a couple of awkward adjustments, I got them to fit, though I might’ve thrown a minor tantrum in the process.
And then came the moment of truth: putting on the finish. I opted for a water-based poly, which dries clear and gives a nice sheen. As I brushed it on, that fresh, woody aroma filled the garage, mixed with enough enthusiasm to make me believe I’d actually pulled this off.
When it was finally done, I stood back, wiping my hands on my trusty work apron, my heart racing with a mix of pride and disbelief. It looked good. No, better than good! I could hardly wait for my daughter to see it, her face would light up, and that made every misstep—every trip back to the store—more than worth it.
Wrapping It Up
So, there you have it. If you’re considering dipping your toes—or your hands—into woodworking, just go for it. Don’t let the idea of lists and planning get in your way; figuring it out as you go along can sometimes lead to the best memories. I wish someone had told me to relax and embrace the mess because, honestly, that’s where the fun is.
Woodworking isn’t just about the final product; it’s about the process, the lessons learned, and the laughter shared—especially if you have a little one looking up at you, ready to help. So grab that coffee, sit in your garage, and let the sawdust fly!