The Wall Tool Cabinet: A Woodworking Journey
So, there I was, sitting in my garage one Saturday morning, nursing my third cup of coffee, looking at the chaotic mess that had become my tool collection. It was more of a “tool explosion” than a collection, really. Wrenches mingled with hammers, and my pride and joy—a well-used circular saw—was pinned under a heap of screwdrivers. I could almost hear them screaming at me: “Organize us, for crying out loud!"
The Idea Takes Shape
After a couple of grumbles and a few more sips of that rich, dark brew, I decided it was time. I had seen some inspiring pictures of wall tool cabinets on Pinterest and thought, “How hard could it be?” Famous last words, right? I quickly sketched out a plan on the back of an old envelope. The idea was simple: build something to hang on the wall that would keep my tools in order and maybe make the garage feel a bit more like a workshop.
Now, I wasn’t new to woodworking. I had my fair share of projects, but this was different. I was about to dive into something that would require a bit more thought. I remembered my last project, a coffee table that ended up looking like a lopsided pancake. So, naturally, I felt a mixture of excitement and dread.
Shopping for Materials and Tools
Before I could start, off to the local hardware store I went, which, luckily, was just down the street. There’s something about the smell of freshly cut wood that gets me every time. I spent a good chunk of time just wandering the aisles, practically drunk on the scent of cedar and pine. I landed on some 1×12 boards—poplar, they called it. It was more affordable than oak, and I figured it’d hold up well. Poplar isn’t the most glamorous wood, but it paints beautifully, and I had grand plans of giving this cabinet a fresh coat of blue when it was done.
I gathered screws, some brackets, and a couple of hinges. I even splurged a bit on some fancy sandpaper. You know, the kind that makes your hand feel like butter sliding over silk.
The Build Begins
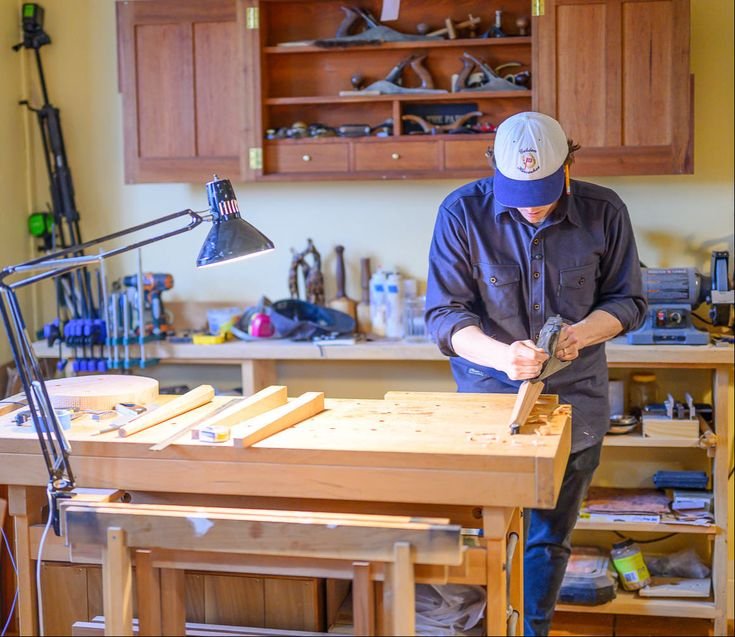
Once I got home, I felt that rush of adrenaline. It was finally happening! I set up my workspace in the garage, rolled up my sleeves, and cranked up some classic rock. Nothing like a little Bob Seger to get the blood pumping, right?
I started cutting the boards according to my rough sketches. The saw sang its familiar tune, and I couldn’t help but smile. But as soon as I tried to fit the pieces together, panic set in. They just…didn’t fit. I double-checked everything, and sure enough, I had measured wrong. Ugh.
I almost gave up then and there, just sat back in my folding chair and sulked for a while, but I shook it off. After all, I couldn’t let my tools down! They’d really gone above and beyond in keeping me company on those late-night projects.
A Lesson in Patience
With a deep breath, I grabbed my sander and decided to take a break from the cuts. Sanding is oddly therapeutic—there’s something about the rhythmic buzzing that calms the mind. Plus, watching the wood turn smooth under my hands felt like I was breathing new life into it. When the pieces were finally worn down enough to fit, I was back in business.
After wrestling with the assembly, which—let’s be honest—was more of a creative puzzle than anything, I got to the fun part: painting. I got a nice, vibrant blue, which, as it turned out, was much brighter than I fit in my mind. Fueled by the optimism of my morning coffee, I had envisioned a more muted shade. But it was too late; the paint was already on, and I had to own that bright blue (which I later affectionately dubbed “Smurf Swing”).
The Final Touches
Once everything was assembled and dried, came the hanging. I brought out my level, which was a battle in itself, as gravity had other plans that day. I almost laughed when it actually worked, as I stepped back and admired the outcome. Sure, it wasn’t perfect—there were a few tiny gaps, and the door swings just a tad uneven, but it was mine.
I hung up my tools, arranged them neatly, and took a second to take it all in. The smell of fresh paint mixed with old wood chips wafted through the garage as I put my feet up on the workbench. I had done it. I had created something that not only organized my space but brought a real sense of pride.
Reflecting on the Journey
I guess what I really learned through this little adventure is that it’s not just about the project itself but the journey. There were moments I questioned why I even started, moments of frustration where I almost threw in the towel. But when I stepped back at the end, looking at that ol’ blue cabinet, all I could feel was satisfaction.
So, if you’re sitting on the fence, contemplating over a DIY project, just go for it. You might mess up along the way—trust me, I did—but you’ll also learn and grow from it. And honestly, each mistake just adds character, just like that cabinet hanging out in my garage.
So, grab your cup of coffee, don’t be afraid to get your hands a little dirty, and jump into a project. You might surprise yourself—and your tools—more than you expect.

