Woodshop Whispers and Transfer Angles
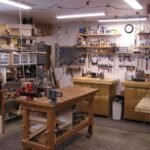
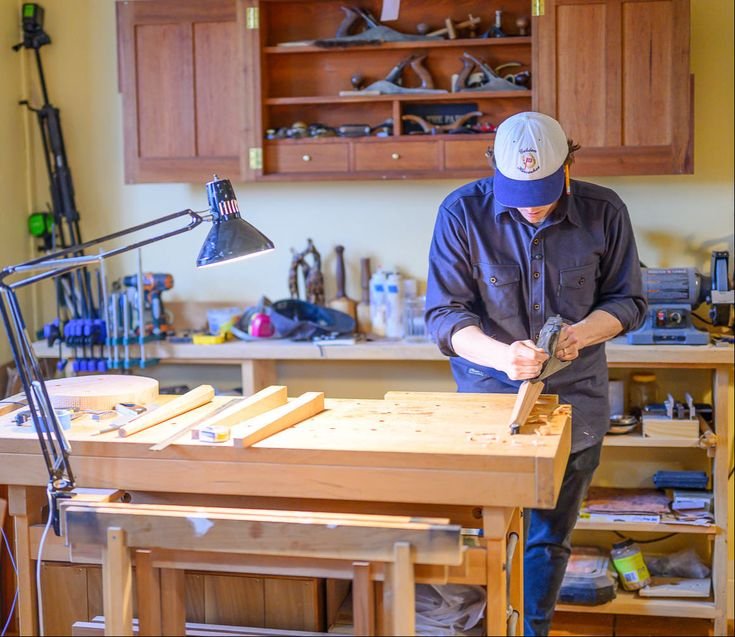
You know, there’s something magical about the scent of sawdust hanging in the air. It’s warm and comforting in a way that feels like home, especially in my little workshop tucked away in the garage. It’s here where I’ve spent countless weekends, tools scattered about like some peculiar form of organized chaos. I’ve always found solace in woodworking—there’s a kind of honesty to it, you know? But boy, did that honesty teach me a lesson or two about transfer angles.
So, here’s the deal. Not too long ago, I decided I was going to build a blanket chest for my daughter, something solid and beautiful—like a family heirloom, you know? I had this idea floating around in my head and thought, "Hey, I’ve built a few things before. How hard can it be?" Famous last words, right?
The Beauty of Wood
I went to the local lumber yard—the one I’ve been going to since I first held a hammer—and grabbed some nice, straight pieces of oak. Man, it smells divine. That earthy, slightly sweet smell of freshly cut wood is like a breath of fresh air, especially compared to the dusty corners of my garage. And oak? Good choice, I thought. Sturdy, reliable—perfect for a blanket chest that would withstand the years.
I’ll admit, I was a bit cocky. I had a plan sketched out in my head, and I thought I knew all the right angles. I mean, how hard could it be to get a clean corner join? I’d seen it done on YouTube. Should’ve known better.
The Tale of the Transfer Angle
Okay, so there I was with my miter saw and a few clamps, enjoying the process, until I hit a wall. You know that moment when everything feels too quiet, the kind of silence that makes you think you’re about to hit a bump? Yeah, that’s when I realized I had no earthly clue how to accurately transfer an angle.
I remember staring at the pieces—the oak felt heavy in my hands—and that sinking realization kicked in. I had a flat piece of wood and a vision of grandeur in the back of my mind, but those two things were not aligning. It hit me like a ton of bricks.
I tried my best to measure it all out with my square, but, geez, it seems like every time I did, I’d end up with a line that was just a little off. I think it was that pesky little gap between my measurements and reality. You might be thinking, “Come on, it can’t be that hard,” but if you’ve ever tried getting a clean angle on two corners joining, you know what I’m talking about.
Almost Giving Up
At one point, I almost threw in the towel. I mean really, I was moments away from packing it all up and calling it quits. I sat there with a cup of coffee cooling beside me, staring at those wooden pieces like they were mocking me. My heart sank a little, and I thought, “Maybe it’s time to call a professional.” Then again, I’ve never been one to back down easily.
So, I took a deep breath and gave myself a little pep talk. “Okay, self. You’ve got this.” I remembered hearing somewhere about this technique called a transfer angle. That magical moment when you take what’s right in front of you—the angle of one piece—and transfer that exact angle onto another piece. It’s simple in concept but, good grief, executing it in practice was a whole different ballgame.
The Local Trick
I thought back to my old buddy Hank who always had some random trick up his sleeve. He once showed me how to use a simple piece of cardboard to create a template. He always said, “If it doesn’t fit, you just adapt.” So I cut a little strip of cardboard, placed it against my first piece, and traced out the angle. It was the most satisfying sight; watching that shaky, ragged line turn into something I could actually use.
I laughed when it actually worked out—the wonder of seeing that piece match up. I mean, it’s funny how, out of sheer frustration, a solution can just … appear, like a bolt of lightning out of a clear sky. That cardboard became my saving grace, transferring the right angles with a gentle precision to my oak boards. I could almost hear Hank chuckling in the back of my mind.
Putting It Together
I finally managed to put everything together, and when it all clicked—and I mean literally clicked into place—I was just grinning like an absolute fool. This blanket chest was starting to become more than just an idea. It became a labor of love, filled with all my doubts and missteps, but also a whole lot of pride. I can still smell the fresh wood and the sweet scent of the varnish as I finished it off, that glossy finish reflecting the dedication I poured into it.
When I handed it to my daughter, you should have seen her face. The light in her eyes shining bright, like I’d given her the sun itself. It brought a warmth to my heart that no amount of sawdust or wood glue could replicate.
Wrap-Up Thoughts
So, if you’re ever knee-deep in a project and find yourself staring at confused angles and misaligned pieces, just remember: we all stumble. Sometimes, all it takes is a piece of cardboard and a little recognition that it’s all part of the process. The truth is, woodworking—like life—has its share of hiccups.
If you’re thinking about trying this woodworking thing, just go for it. Don’t be afraid to mess it up a couple of times. You’ll find your rhythm, and who knows, maybe you’ll create something beautiful. It’s not always about getting it right the first time; sometimes, it’s all about the journey of figuring it out. Happy building!