A Shuffleboard Story: Wood, Mistakes, and a Whole Lot of Coffee
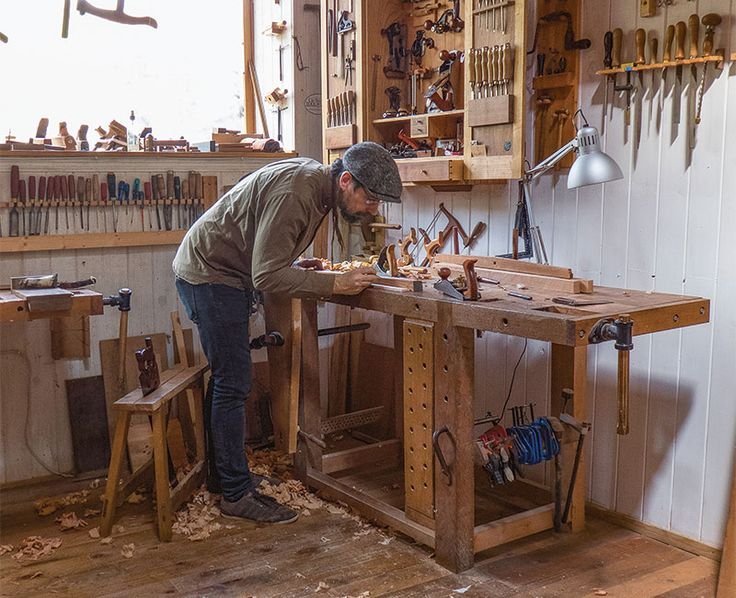
You know, sometimes the best projects come from the most unexpected places. Just the other evening, with the chill creeping in through the drafty windows, I found myself sitting in my garage, tools scattered around like a chaotic artist’s studio, and a steaming cup of coffee in hand. I had something in mind — a tabletop shuffleboard. Yep, that thing you might see in bars or game rooms. My buddies and I had played it countless times, but I figured, why not build my own?
Now, I’ve done my fair share of woodworking. I remember the first time I laid my hands on a saw—picture me, an awkward fifteen-year-old, trying to impress my dad while attempting to make a birdhouse. That thing? It looked more like a henhouse than a cozy spot for any feathered friend. But hey, it didn’t dissuade me from getting back into the wood shop, and here I was years later, diving into a shuffleboard project, all cocky and ready to go.
The Vision
I had this clear picture in my head. I wanted it to be rustic, with a warm finish. So I went with maple for the playing surface—it’s smooth and durable, perfect for the sliding pucks. I even splurged on some walnut for the frame because, well, why not? A little flair never hurt anyone, right? And let me tell you, walking into the local lumber yard, the scent of fresh-cut wood practically hit me like a wave. There’s something magical about that, almost like a nostalgic memory lurking somewhere at the back of my mind.
I set up my workspace, whirring my circular saw to life. But let me just say, if you haven’t cut a piece of wood in a while, it can be a bit intimidating. The sound it makes, the vibration in your hands…it takes some getting used to. I got really excited, too excited, if you ask me. I marked my dimensions on the board, ready to make the first cut.
The First Cut Goes…Not So Smoothly
So, here’s where it starts to get a little frustrating. I’m cutting the maple, and ugh, my hands were a bit jittery from the coffee. I missed my mark on one of my pieces by a whole half an inch. I threw my hands up in the air like I was rehearsing for a drama class. “Great! Just great!” I muttered, wondering if this was the universe telling me to just order a shuffleboard online like a sane person.
But you know how it is—once you set your mind to something, you’ve got to channel your inner stubborn mule. So I grabbed some sandpaper instead of sulking. There’s something oddly therapeutic about smoothing out rough edges, literally and figuratively. After some laborious back-and-forth with the sandpaper, I found solace in the soft feel of the wood. As the dust settled, I felt the familiar thrill of my project coming together again. I wiped the sweat off my brow, grabbed another slice of wood, and got back to it.
Framed Up and Ready to Go
When it came to putting together the frame, I made a rookie mistake—overestimating my measurements. I mean, how hard could it be to frame a rectangle? Apparently, pretty hard. After fitting everything together, I realized I had this skewed angle that looked like an origami project gone wrong. I leaned back in my chair, hands on my knees, and just laughed. It was so off it almost looked like an art piece. But thankfully, a little elbow grease and an adjustable square sorted that out.
Screwing everything together was the final step before the finish. And boy, did that feel satisfying. The clang of the screws sinking in felt like a little victory dance in my head. But I had to remind myself, “Hold on, Buddy! You’re not done yet! Time for the finish.”
The Unexpected Battle with the Finish
I chose a nice polycrylic because it’s quick-drying, and honestly, because I didn’t have all week to wait around. And, oh man, as I brushed it on, the finish glided over the wood like it was gliding over ice. The smell? Divine. Like sweet vanilla mixed with that sparkly freshness of new furniture. But things took a turn when I got a bit too eager and didn’t let the previous coat dry long enough. Can you imagine? Just when I thought I was sailing smoothly, I smeared the finish while reaching for my brush. I swear I saw all my hopes dashed.
I just about threw my hands up, ready to walk away and have a pity party with a pint of ice cream. But, after letting out a good sigh, I watched the way the finish pooled on the surface. I gave it some time, came back, and yes! It smoothed over beautifully!
The Final Reveal
When I finally stood back and admired my work, that shuffleboard gleamed under the fluorescent lights of my garage, like a proud son returning home after a long journey. I was able to bring it inside that evening, and as I slid the first puck down its smooth maple surface, the sound of it gliding was like music. I almost had to pinch myself.
So, What’s the Takeaway?
If there’s anything I’ve taken away from this little adventure, it’s that everything may not go as planned, but that’s where the magic happens. I almost gave up a couple of times, but I pushed through. The shi—er, the challenges—make the whole experience worthwhile. If you’re thinking about diving into a project like this, just go for it. Grab some coffee, your tools, and don’t worry if it gets messy. It’s those quirky imperfections that often make the best stories.
Trust me, in the end, it’s all about who you share it with, whether it’s over a friendly competition or laughter-filled game nights. Happy woodworking!