Finding My Way with Resin Inlay
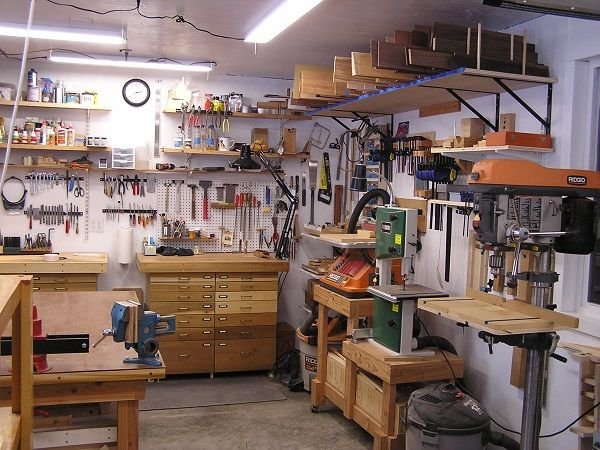
You know when you have that one project in your head that just won’t quit? Yeah, that was me with this resin inlay thing. I’ve always been a woodworker, tinkering away in my little garage. It’s my happy place; you can usually find me there sawing away or sanding something down, with old country music playing in the background. And let me tell you, there’s something magical about the smell of fresh-cut wood mixed with my strong coffee. But this resin inlay business? That was a whole new level of magic—and chaos.
It all started one quiet Saturday morning. I had some beautiful pieces of walnut lying around. You know the kind, dark with rich, swirling grain. I’d seen these stunning resin inlays online, pieces that looked like they were glowing, with blues and greens that made you feel like you were staring into the ocean. I thought, “Why not give it a whirl?” Boy, did I have a lot to learn!
So, I headed to my local hardware store—shoutout to old Lou at the counter, who always knows just about everything. I picked up some epoxy resin, thinking I was being smart by going with a brand that was well-rated online. Not to name names, but it was a big box brand that rhymes with “Flexy.” I also nabbed some pigments to mix in—bright and bold, just like I wanted my project to be. As I drove home, I could already picture my masterpiece on display, maybe in the living room or even gifted to my sister.
The Unraveling Begins
Fast forward a few days later, and I finally carved out some time to dive in. This was supposed to be a special coffee table; I envisioned a beautiful river running through the center of it, flowing with deep blues and shimmering greens. Reality, folks, is often much less glamorous.
I carefully cut my walnut slabs, and I remember the way the saw echoed in the garage—there’s a satisfying thrum to it that gets me every time. Then, I mixed up that resin. Man, the smell was intense, and not the good kind. More like a chemical punch to the gut. As I poured the resin into the cavity I’d carved out, I felt a rush of excitement. But then, reality hit harder than my saw ever could.
You see, I had no clue about the mixing ratio. I thought, “Eh, it looks good enough,” and chucked in a little extra color pigment just because. Surprisingly, I managed to pour the resin without it spilling everywhere—an achievement in itself. But about an hour later, I heard this strange gurgling noise. It was the resin bubbling up like a monstrous potion in a witch’s cauldron. I panicked, nearly knocking over my coffee. I’d just ruined the whole thing, right? Well, I almost gave up so many times that day, I can’t even count. But then I thought, “What would Lou think?”
The Lightbulb Moment
I decided to let it sit overnight, hoping it wouldn’t turn out like a horror show in the morning. I went to bed staring at the ceiling, willing my creation not to turn into a nightmare of sticky goo. The next morning, I woke up early—couldn’t sleep, obviously—and made my way to the garage. Guess what? Despite the bubbling, it had actually cured reasonably well! There were a few spots I had to sand down, but to my surprise, it actually looked kinda cool.
I laughed when it actually worked; it felt like some crazy science experiment gone right. I sanded it smooth, and as I polished it up with some finishing oil, the glow of the resin really started to pop against the walnut. I couldn’t help but smile, thinking of how I almost tossed everything out in frustration.
A Little Humble Pie
Of course, that didn’t mean I was out of the woods yet. Oh no. I should’ve known my adventures with resin were just beginning. The next challenge was the finishing touches. I wanted to ensure that this coffee table not only looked good but was also sturdy enough to support my love for a good board game marathon with the pals.
I learned pretty quickly that if you don’t seal the edges properly, the resin can chip away. I had a close call when I thought I had finished everything up. I was standing there, coffee in hand, feeling proud as a peacock when I noticed this tiny little crack forming where I hadn’t applied enough sealant. My heart sank. I almost threw the whole thing out—after all that work!
But after some deep breaths and a moment with a reassuring brew, I opted to fix it instead. A quick fix with some more epoxy did the trick, and I ended up with a beautiful piece that wasn’t just a catastrophe waiting to happen.
Lessons Learned
Reflecting on all this, I realized this wasn’t just a project; it was about perseverance. I learned to respect the materials—wood and resin both have their quirks. I’ve done a couple more resin projects since that first one, and every time, I think back on how far I came from that initial disaster.
You know, at the end of the day, woodworking isn’t just about the end result. It’s about the process, the little errors, the laughter, and even the frustration. There’s a certain beauty in that.
If you’re thinking about trying this resin inlay thing, just go for it. Don’t let the fear of mess-ups keep you from your dreams. Dive in with your head high, and who knows—you might just surprise yourself like I did.


